Flex TextForm with Behind-Code
It's time to level up the stakes. Let me show you how to create Flexible forms so you can provide any number of inputs by using Behind-Code concept without even using XAML file.
Flex TextForm with Behind-Code
It's time to level up the stakes. Let me show you how to create Flexible forms so you can provide any number of inputs by using Behind-Code concept without even using XAML file.
Summary
Flexible WPF Forms with Python
Let's raise the stakes of our forms. What if you would need to create a form where you might need different number of inputs in different scripts.
You might need 1, 3, 6 inputs, but creating new forms every time doesn't sound efficient… So, instead let's create a FlexForm like in rpw module.
To create a Flexible WPF Form, we need to think of how to display different number of inputs.
We could create lots of inputs in XAML code and then hide/unhide them, but that's also not efficient.
Instead we need to look into creating WPF form with Behind-Code. This will allow us to dynamically create any number of inputs in WPF form with python. And this is usually refered to using Behind-Code in WPF, when you manipulate your UI form only using the back-end code.
Also, it's even possible to create a whole WPF Form without using a single line of XAML code, and I will also show you how to do that in the end. We can make everything inside of python, and it will be great example of using Behind Code.
Behind Code in WPF
Behind-Code refers to creating and manipulating your WPF elements directly in your python/C# scripts. Therefore is the name - Behind-Code.
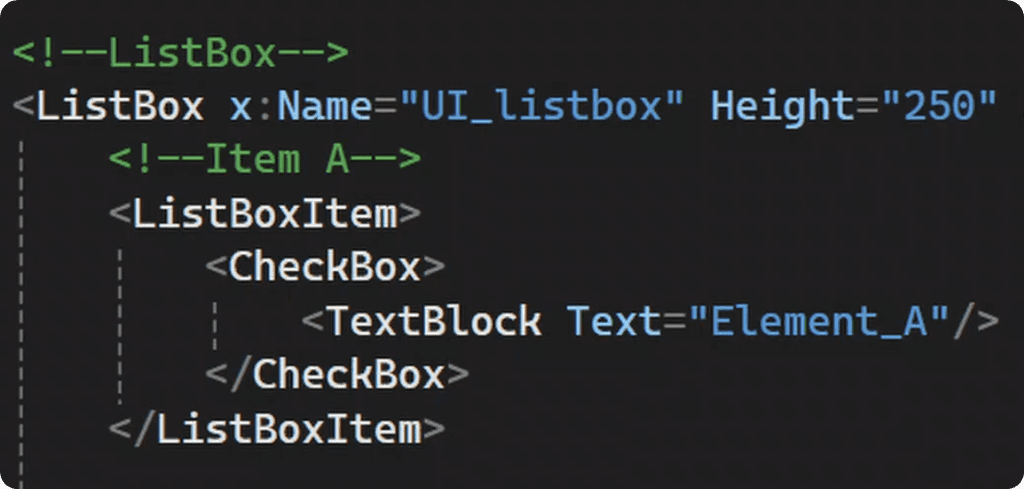
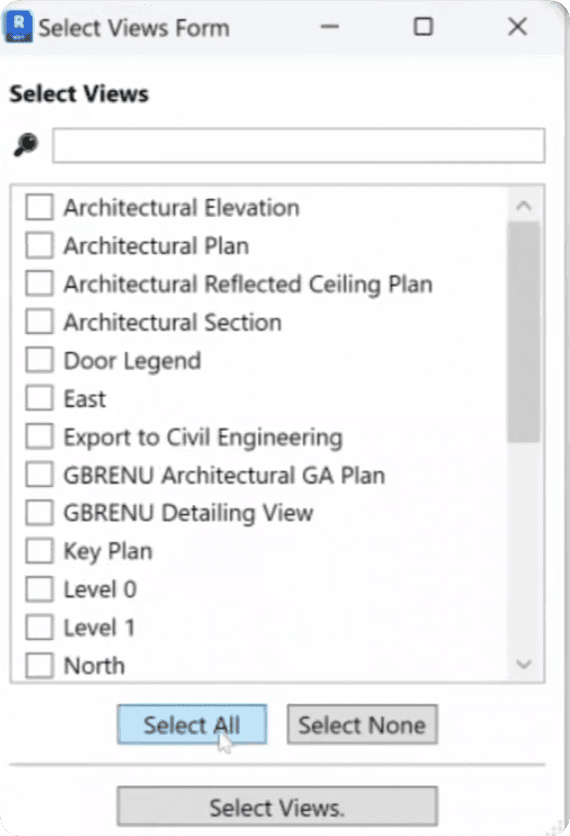
Remember how we populated items in a ListBox in the previous module.
We had to get the existing <ListBox> control, and then add <ListBoxItems>by using Behind-Code.
And we can do even more than populate items. We can create the whole form by only using behind-code.
XAML Code
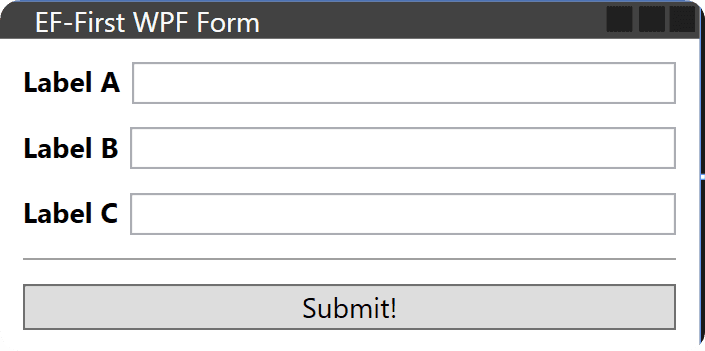
Let's begin by creating a form with XAML code, so you understand the structure that we will need to recreated in Behind-Code.
It's a simple form with a StackPanel where we will put our inputs with DockPanels so we can combine TextBlock with TextBox for each input.
Then in the end we will use Separator and a Button so users can submit their inputs.
Here is the code:
<Window Title="EF-First WPF Form"
        xmlns="http://schemas.microsoft.com/winfx/2006/xaml/presentation"
        xmlns:x="http://schemas.microsoft.com/winfx/2006/xaml"
        Height="Auto" Width="300" MinHeight="125"
        WindowStartupLocation="CenterScreen" ResizeMode="NoResize"
        SizeToContent="Height">

    <StackPanel x:Name="UI_stack" Margin="10">

        <DockPanel Margin="0,0,0,10">
            <TextBlock Text="Label A" FontWeight="Bold" Margin="0,0,5,0"/>
            <TextBox/>
        </DockPanel>


        <DockPanel Margin="0,0,0,10">
            <TextBlock Text="Label B" FontWeight="Bold" Margin="0,0,5,0"/>
            <TextBox/>
        </DockPanel>

        <DockPanel Margin="0,0,0,10">
            <TextBlock Text="Label C" FontWeight="Bold" Margin="0,0,5,0"/>
            <TextBox/>
        </DockPanel>

        <Separator Margin="0,0,0,10"/>

        <Button Content="Submit!" />
Create WPF Base Class
Before recreating the form, let's create a pushbutton and display our current XAML code inside of Revit. It's always best to do it right away, to fix any possible errors or typos in our code.
Once we can show it in Revit, we can move further and work on other functionality.
So copy the XAML code and place it in the xaml file in your pushbutton, and then create a WPF base class in python like this:
from Autodesk.Revit.DB import *
from pyrevit import forms
import wpf, os, clr
clr.AddReference("System")
from System.Windows import Window
PATH_SCRIPT = os.path.dirname(__file__)
doc = __revit__.ActiveUIDocument.Document
uidoc = __revit__.ActiveUIDocument
app = __revit__.Application
class FlexTextForm(Window):
def __init__(self, ):
path_xaml_file = os.path.join(PATH_SCRIPT, 'TextForm.xaml')
wpf.LoadComponent(self, path_xaml_file)
self.ShowDialog()
UI = FlexTextForm()
💡Make sure you provide correct .xaml file name
Clean Up XAML Code
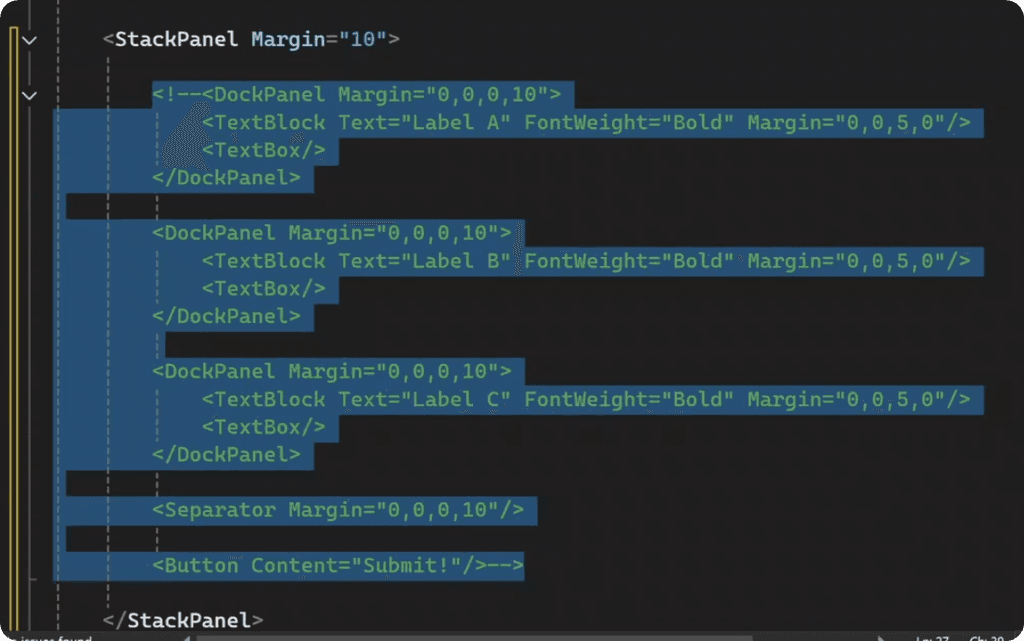
Once you showed your form in Revit, we can comment out the unnecessary part. We can comment our everything inside of <StackPanel>, because we will recreate it with Behind-Code.
Select everything inside and use CTRL+K+C
Also, make sure you provide x:Name attribute to the StackPanel, so we can easily get it in our python code.
<StackPanel x:Name="UI_stack" Margin="10">
</StackPanel>
Behind-Code: Recreate DockPanel
Now, let's get back to code and recreate DockPanel with text input controls. I recommend you to copy XAML code example, so it's easier to mimic the same look inside of python code.
<DockPanel Margin="0,0,0,10">
    <TextBlock Text="Label A" FontWeight="Bold" Margin="0,0,5,0"/>
    <TextBox/>
Then we need to do the following with Python Code:
Get StackPanel
Create DockPanel + Adjust Attributes
Create TextBlock + Adjust Attributes
Create TextBox
Add TextBlock and TextBox inside DockPanel
Add DockPanel inside StackPanel
And don't forget to pay attention to your imports, because you need to bring a lot of classes to create Controls and adjust their attributes.
Here is the code snippet and it already has all the correct Types to override attributes like Margin, FontWeight and so on…
from System.Windows import Window, FontWeights, Thickness, WindowStartupLocation, SizeToContent, ResourceDictionary
from System.Windows.Controls import StackPanel, DockPanel, TextBox, TextBlock, Dock, Button, Separator
class FlexTextForm(Window):
def __init__(self, ):
path_xaml_file = os.path.join(PATH_SCRIPT, 'TextForm.xaml')
wpf.LoadComponent(self, path_xaml_file)
stack = self.UI_stack
dock = DockPanel()
dock.Margin = Thickness(0, 0, 0, 10)
text_block = TextBlock()
text_block.Text = self.label
text_block.FontWeight = FontWeights.Bold
text_block.Margin = Thickness(0, 0, 5, 0)
self.textbox = TextBox()
self.textbox.Text = self.default_value
dock.Children.Add(text_block)
dock.Children.Add(self.textbox)
stack.Children.Add(dock)
self.ShowDialog()
Now you supposed to create a form with a single Text Input.
You can duplicate a part of the code to create multiple for testing. But now we need to think about creating multiple inputs efficiently, and we will need a helped class for that.
Class EF TextDock
Let's create a helper class for creating a DockPanel to make it more reusable. We just need to copy the code we wrote and adjust it a little so we can do the following:
Take Inputs
Override Text attributes
Return Control
Return Text Value
Here is the final class you need:
class EF_TextDock():
"""Custom Class for generating a DockPanel that has TextBlock and TextBox with defined values."""
def __init__(self, label, default_value=""):
self.label = label
self.default_value = default_value
@property
def control(self):
dock = DockPanel()
dock.Margin = Thickness(0, 0, 0, 10)
text_block = TextBlock()
text_block.Text = self.label
text_block.FontWeight = FontWeights.Bold
text_block.Margin = Thickness(0, 0, 5, 0)
self.textbox = TextBox()
self.textbox.Text = self.default_value
dock.Children.Add(text_block)
dock.Children.Add(self.textbox)
return dock
@property
def value(self):
return self.textbox.Text
Now we can test this class inside of the WPF Base class. Let's create multiple EF_TextDocks Controls and add them to the StackPanel to see if it works.
class FlexTextForm(Window):
def __init__(self):
path_xaml_file = os.path.join(PATH_SCRIPT, 'TextForm.xaml')
wpf.LoadComponent(self, path_xaml_file)
stack = self.UI_stack
dock_a = EF_TextDock(label='Label A', default_value='Text here A...')
dock_b = EF_TextDock(label='Label B', default_value='Text here B...')
dock_c = EF_TextDock('Label C')
dock_d = EF_TextDock('Label D')
stack.Children.Add(dock_a.control)
stack.Children.Add(dock_b.control)
stack.Children.Add(dock_c.control)
stack.Children.Add(dock_d.control)
self.ShowDialog()
And here is the test in Revit:
Add Separator and Button
Our form already works pretty well. Next, let's finish it by adding a Separator and a Button with behind-code as well.
class FlexTextForm(Window):
def __init__(self):
path_xaml_file = os.path.join(PATH_SCRIPT, 'TextForm.xaml')
wpf.LoadComponent(self, path_xaml_file)
stack = self.UI_stack
dock_a = EF_TextDock(label='Label A', default_value='Text here A...')
dock_b = EF_TextDock(label='Label B', default_value='Text here B...')
dock_c = EF_TextDock('Label C')
dock_d = EF_TextDock('Label D')
stack.Children.Add(dock_a.control)
stack.Children.Add(dock_b.control)
stack.Children.Add(dock_c.control)
stack.Children.Add(dock_d.control)
self.ShowDialog()
sep = Separator()
sep.Margin = Thickness(0, 0, 0, 10)
button = Button()
button.Content = 'Submit!'
self.stack.Children.Add(sep)
self.stack.Children.Add(button)
Subscribe To Events with Behind-Code
We have all the Controls, now let's add some functionality.
Obviously we need an EventHandler for our Button.Click event, and maybe a few others. Let's start with the Click event.
As you remember in XAML code, we would select an Event attribute, and assign a name of a method that will be used in behind-code like this:
<Button Content="Submit!" Click="UIe_btn_run"/>
And it's quite similar in Behind-Code. To subscribe to events in programming we use += syntax. And then we can also use -= syntax, but you won't need that part.
Here is example:
button = Button()
button.Content = 'Submit!'
button.Click += self.UIe_btn_run
def UIe_btn_run(self, sender, e):
"""EventHandler for submit Button.Click Event"""
self.Close()
💡EventHandler method stays the same. Just remember that it always needs sender and e (EventArgs) arguments to work properly.
Get rid of all XAML Code
Alright, now we moved so much to Behind-Code, that it doesn't make any sense to keep any of the XAML code. So let me show you how to get rid of it completely.
Right now we are using only this part:
<Window Title="EF-First WPF Form"
        xmlns="http://schemas.microsoft.com/winfx/2006/xaml/presentation"
        xmlns:x="http://schemas.microsoft.com/winfx/2006/xaml"
        Height="Auto" Width="300" MinHeight="125"
        WindowStartupLocation="CenterScreen" ResizeMode="NoResize"
        SizeToContent="Height">


    <StackPanel x:Name="UI_stack" Margin="10">

    </StackPanel>

</Window>
So to get rid of it, we need to replace:
<Window> Control
Override Window Properties
Add <StackPanel>
Let me explain something very important about Window control. As you remember we always start our Base WPF Class by inheriting Window class.
class FlexTextForm(Window):
💡And when you do that, your class becomes the <Window> Control itself!
Just think about it. When you want to replace title in <Window Title ="Current Title"> you just write self.Title = … So, the self refers to <Window> class itself.
When we load XAML file, we actually override the default <Window> control with its properties. And if we don't do that, we will still have our default <Window> control.
Override Window Properties
So now we need to override <Window> properties and add a <StackPanel> as its Content. Here is how to do that.
class FlexTextForm(Window):
def __init__(self):
self.Title = 'EF-FlexTextForm'
self.Width = 300
self.MinHeight = 125
self.WindowStartupLocation = WindowStartupLocation.CenterScreen
self.ResizeMode = 0
self.SizeToContent = SizeToContent.Height
Now you should understand really well that your class is the Window control itself and you can access any properties inside of it by using self.
Create StackPanel
By now you should already know how to create a StackPanel and add all other elements inside of it.
class FlexTextForm(Window):
def __init__(self):
self.stack = StackPanel(Margin=Thickness(10))
💡It's good to assign StackPanel to self.stack, so we can later access it from other methods.
Form Arguments
Alright, our form works well. But we need to make it more reusable. Let's add arguments so we can provide a list of inputs that we need. This is what will allow us later to provide any number of inputs we want.
Firstly, we need to add components parameter in __init__ method, so we always need to provide some. This will replace #Create DockPanels part of the code.
Secondly, we need to prepare a list of components when we initiate this form.
Here is the code:
class FlexTextForm(Window):
def __init__(self, components):
self.components = components
self.Title = 'EF-FlexTextForm'
self.Width = 300
self.MinHeight = 125
self.WindowStartupLocation = WindowStartupLocation.CenterScreen
self.ResizeMode = 0
self.SizeToContent = SizeToContent.Height
self.stack = StackPanel(Margin=Thickness(10))
for item in self.components:
self.stack.Children.Add(item.control)
sep = Separator()
sep.Margin = Thickness(0, 0, 0, 10)
button = Button()
button.Content = 'Submit!'
button.Click += self.UIe_btn_run
self.stack.Children.Add(sep)
self.stack.Children.Add(button)
self.Content = self.stack
self.ShowDialog()
def UIe_btn_run(self, sender, e):
"""Button action: Rename view with given """
self.Close()
💡 Pay attention to parts that I've commented our and replaced after. I marked with 🔥 emoji.
To use this form we need to prepare a list of components to create in the form:
components = [EF_TextDock('Label A:',  'Text Here A...'),
              EF_TextDock('Label B:',  'Text Here B...'),
              EF_TextDock('Label C:' ),
              EF_TextDock('Label D:' ),
              EF_TextDock('Label E:' ),
              EF_TextDock('Label F:' ),
              EF_TextDock('Label G:' ),
              ]

UI          = FlexTextForm(components)
And now you have a Flexible WPF Form!
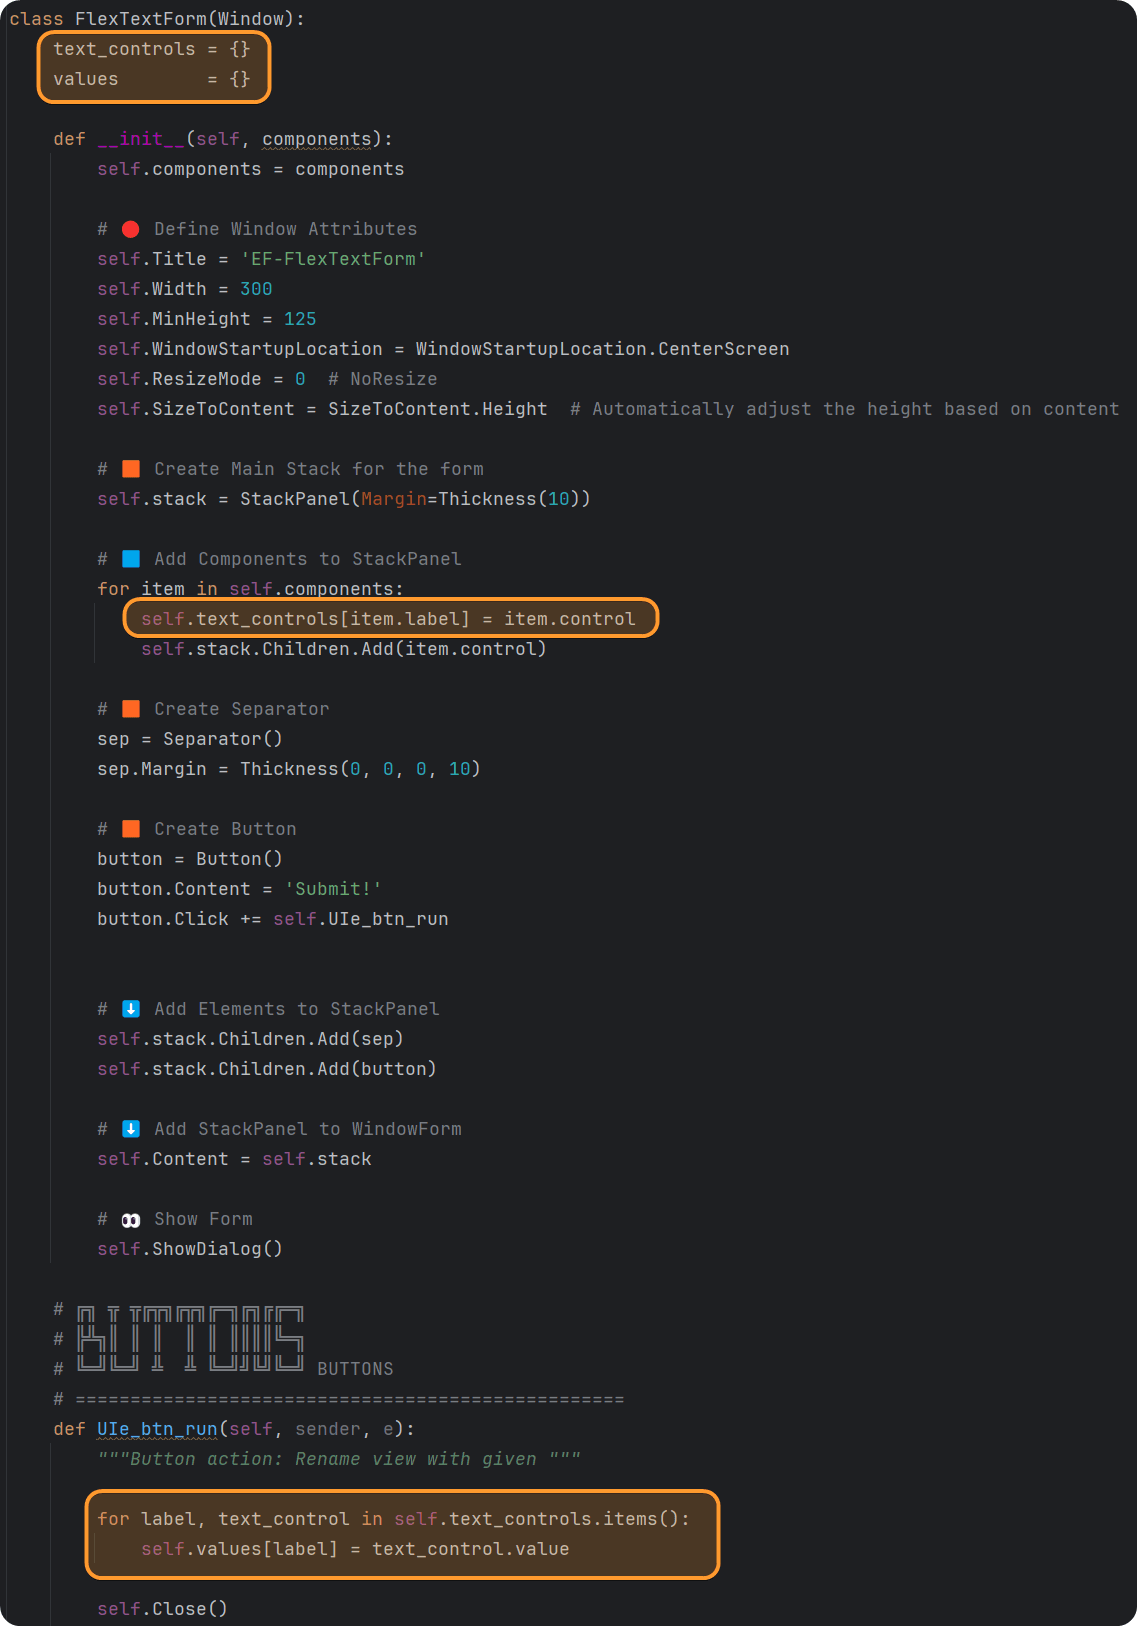
Get User Input
Let's have a look at how do we actually get the user input from this form.
There are different ways to do that, and I decided to create a container, where I will add all custom Controls (EF_TextDock) and then when I click on the run button, I will go through them and read the value by using value property.
Here is the updated code.
Here is how to read the values
UI = FlexTextForm(components)
print(UI.values)


dict_values = UI.values
for k,v in dict_values.items():
    print(k,v)
Refactor Class
We are done with the functionality of the class, but we can refactor code a little more to make it more readable and maintainable.
Let's move most of the code from __init__ into 2 new methods:
set_window_properties
populate_wpf_controls
class FlexTextForm(Window):
text_controls = {}
values = {}
def __init__(self, components):
self.components = components
self.set_window_properties()
self.populate_wpf_controls()
self.ShowDialog()
def set_window_properties(self):
self.Title = 'EF-FlexTextForm'
self.Width = 300
self.MinHeight = 125
self.WindowStartupLocation = WindowStartupLocation.CenterScreen
self.ResizeMode = 0
self.SizeToContent = SizeToContent.Height
def populate_wpf_controls(self):
self.stack = StackPanel(Margin=Thickness(10))
for item in self.components:
self.text_controls[item.label] = item.control
self.stack.Children.Add(item.control)
sep = Separator()
sep.Margin = Thickness(0, 0, 0, 10)
button = Button()
button.Content = 'Submit!'
button.Click += self.UIe_btn_run
self.stack.Children.Add(sep)
self.stack.Children.Add(button)
self.Content = self.stack
def UIe_btn_run(self, sender, e):
"""Button action: Rename view with given """
for label, text_control in self.text_controls.items():
self.values[label] = text_control.value
self.Close()
Lastly! Add a key argument
Sorry for making this lesson longer, but I have to address this.
Lastly, I want to add keys to my EF_TextDock, so I can create different values for a key and label. This will make it more user friendly for developers.
For example you can write key = 'user', label ='Username: '
And then you will need to use 'user' to reference the right input from the dictionary. This will make much better user experience.
Here is the Final Code from the lesson:
from Autodesk.Revit.DB import *
from pyrevit import forms
import wpf, os, clr
clr.AddReference("System")
from System.Windows import Window, FontWeights, Thickness, WindowStartupLocation, SizeToContent, ResourceDictionary
from System.Windows.Controls import StackPanel, DockPanel, TextBox, TextBlock, Dock, Button, Separator
PATH_SCRIPT = os.path.dirname(__file__)
doc = __revit__.ActiveUIDocument.Document
uidoc = __revit__.ActiveUIDocument
class EF_TextDock():
"""Custom Class for generating a DockPanel that has TextBlock and TextBox with defined values."""
def __init__(self,key, label, default_value=""):
self.key = key
self.label = label
self.default_value = default_value
@property
def control(self):
dock = DockPanel()
dock.Margin = Thickness(0, 0, 0, 10)
text_block = TextBlock()
text_block.Text = self.label
text_block.FontWeight = FontWeights.Bold
text_block.Margin = Thickness(0, 0, 5, 0)
self.textbox = TextBox()
self.textbox.Text = self.default_value
dock.Children.Add(text_block)
dock.Children.Add(self.textbox)
return dock
@property
def value(self):
return self.textbox.Text
class FlexTextForm(Window):
text_controls = {}
values = {}
def __init__(self, components):
self.components = components
self.set_window_properties()
self.populate_wpf_controls()
self.ShowDialog()
def set_window_properties(self):
self.Title = 'EF-FlexTextForm'
self.Width = 300
self.MinHeight = 125
self.WindowStartupLocation = WindowStartupLocation.CenterScreen
self.ResizeMode = 0
self.SizeToContent = SizeToContent.Height
def populate_wpf_controls(self):
self.stack = StackPanel(Margin=Thickness(10))
for item in self.components:
self.text_controls[item.key] = item
self.stack.Children.Add(item.control)
sep = Separator()
sep.Margin = Thickness(0, 0, 0, 10)
button = Button()
button.Content = 'Submit!'
button.Click += self.UIe_btn_run
self.stack.Children.Add(sep)
self.stack.Children.Add(button)
self.Content = self.stack
def UIe_btn_run(self, sender, e):
"""Button action: Rename view with given """
for key, text_control in self.text_controls.items():
self.values[key] = text_control.value
self.Close()
components = [EF_TextDock(key='username', label = 'User Name:', default_value='Erik'),
EF_TextDock(key='lastname', label = 'User LastName'),
EF_TextDock(key = 'H', label = 'El Height'),
EF_TextDock(key = 'W', label = 'El Width')
]
UI = FlexTextForm(components)
dict_values = UI.values
username = dict_values['username']
print('username: {}'.format(dict_values['username']))
print('lastname: {}'.format(dict_values['lastname']))
print('H: {} '.format(dict_values['H']))
print('W: {} '.format(dict_values['W']))
Conclusion
🥳Finally, we are done! I hope you learnt a lot during this lesson.
Now you know how to create WPF form by only using Behind-Code and get rid of all XAML code.
And this will allow you to create dynamic forms where you can provide any number of inputs.
What's Next?
This was a big lesson, and now we need to make this form reusable from our lib. You can try to do it on your own as a homework, but I will also show you how to do that in the next lesson.
So, I wish you Happy Coding and see you soon.
🙋♂️ See you in the next lesson.
- EF
🙋♂️ See you in the next lesson.
- EF
Discuss the lesson:
P.S. Sometimes this chat might experience connection issues.
Please be patient or join via Discord app so you can get the most out of this community and get access to even more chats.
Discuss the lesson:
P.S. Sometimes this chat might experience connection issues.
Please be patient or join via Discord app so you can get the most out of this community and get access to even more chats.

