Resources
Summary
Welcome to WPF Course for pyRevit Users!
Get on board 🛳️!
In this module, I'll introduce you to the fundamental concepts like:
WPF (Windows Presentation Forms)
MVVM (Model-View-ViewModel)
XAML ()
And Setup WPF Dev Environment
By the end of this module you will be ready to create awesome looking UI forms completely on your own.
However, let's start by answering basic questions in this lesson like
What is WPF?
What is MVVM?
What is WPF?
WPF stands for Windows Presentation Foundation. It's a modern UI framework developed by Microsoft for building good-looking UI Forms or Applications.
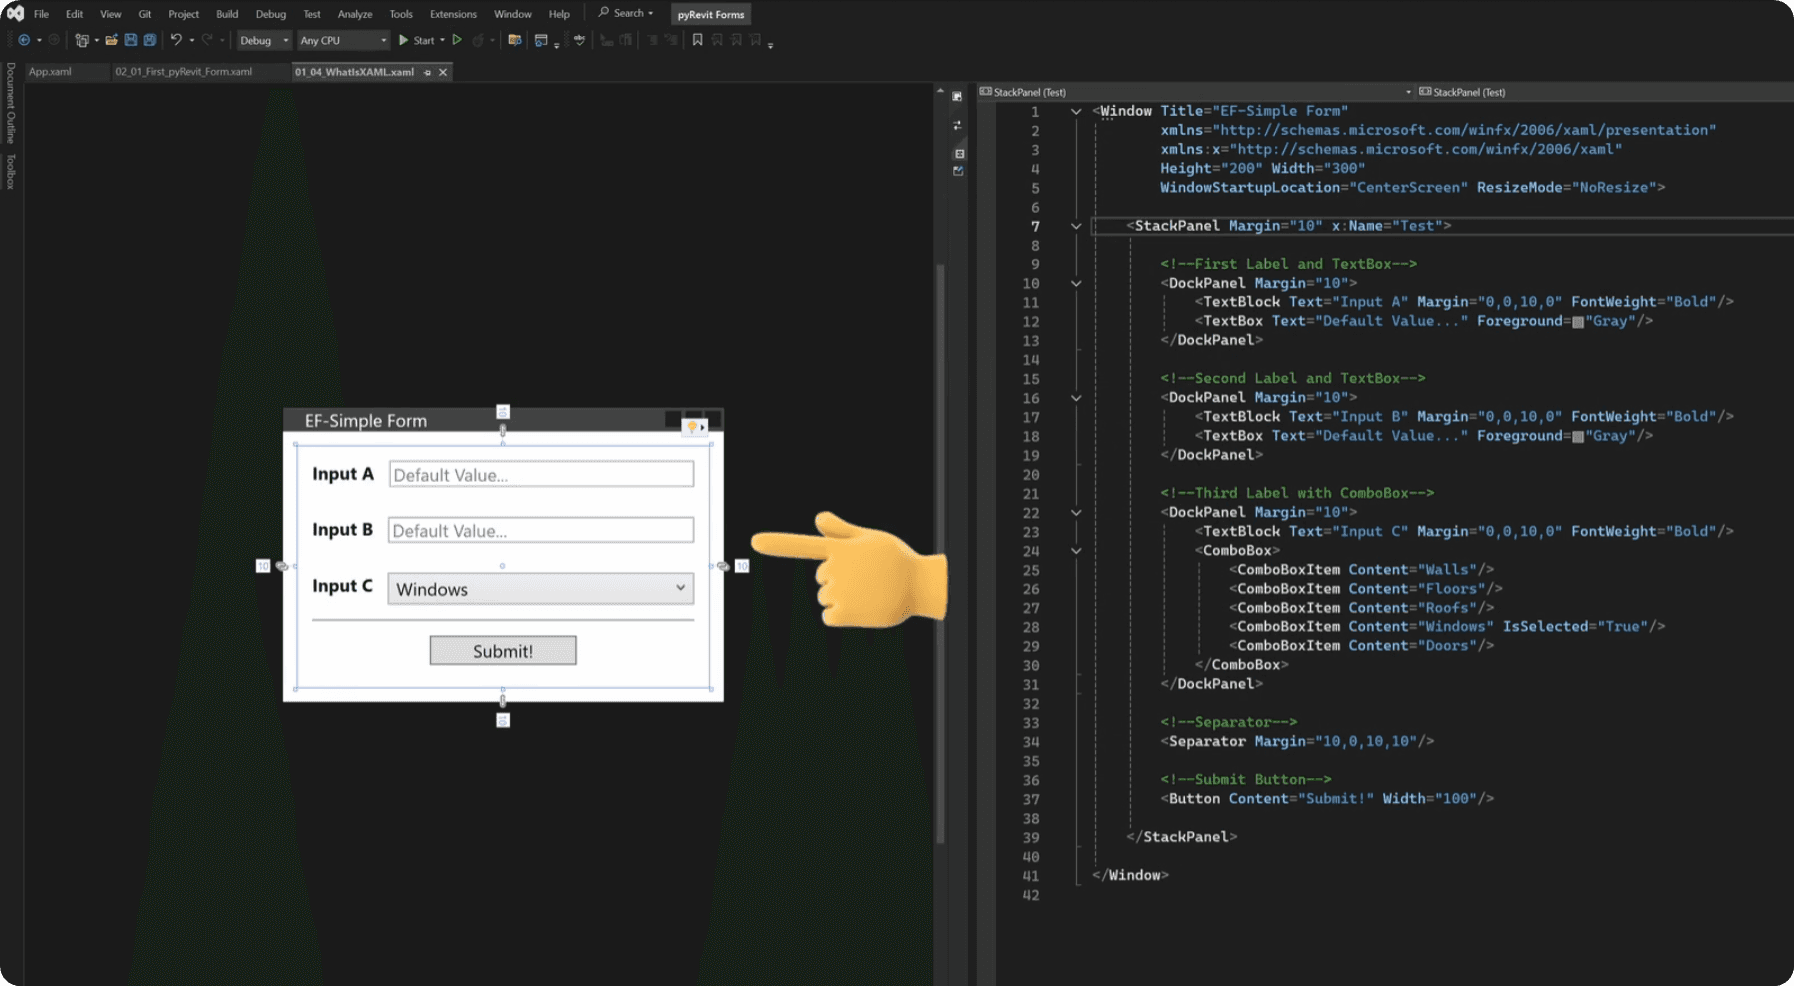
It offers a modern approach to designing user interfaces by using XAML file format (eXtensible Application Markup Language). It's made for .NET Framework and can be used with .NET languages like C# or IronPython in our case, for writing the logic.
Because you will need to connect 2 things together:
UI Form (Front-End)
Code with Logic (Back-End)
Key Components of WPF:
Before we move on, let's just recap a very important point.
You will need 2 scripts to create custom forms:
1️⃣ XAML Scripts (Front-End)
Think of XAML as the HTML but for desktop applications.
It describes the UI Elements and their layout on the form using similar syntax and logic, but it has different names for its components.It might look overwhelming when you see the code for the first time, but it will get simple once you write a few forms yourself. I will teach you XAML in another lesson in more detail.
2️⃣IronPython Scripts (Back-End):
You will still write all the UI and Revit API logic and interactions with python inside your scripts as usual. But you will also need to connect it to your XAML form.
Why Use WPF?
WPF is very flexible.
You can do anything you can imagine with WPF forms as long as you have the skills. And luckily for you it got so much simpler since Chat GPT release.
Turns out, Chat GPT know XAML really well and it can save you hundreds of hours of creating your forms.
I've even tried to pretend I know nothing about WPF and ask Chat GPT to do all the dirty work. And it actually did a really good job, but I still needed to provide the right resources and interrogate it for a while to fix all the issues.
Without any doubt, it's 100% better than figuring it out on your own. And don't worry, I will teach you how to leverage AI in the last module of this course, but first you need to learn the basics of WPF so you can ask the right questions.
What is MVVM?
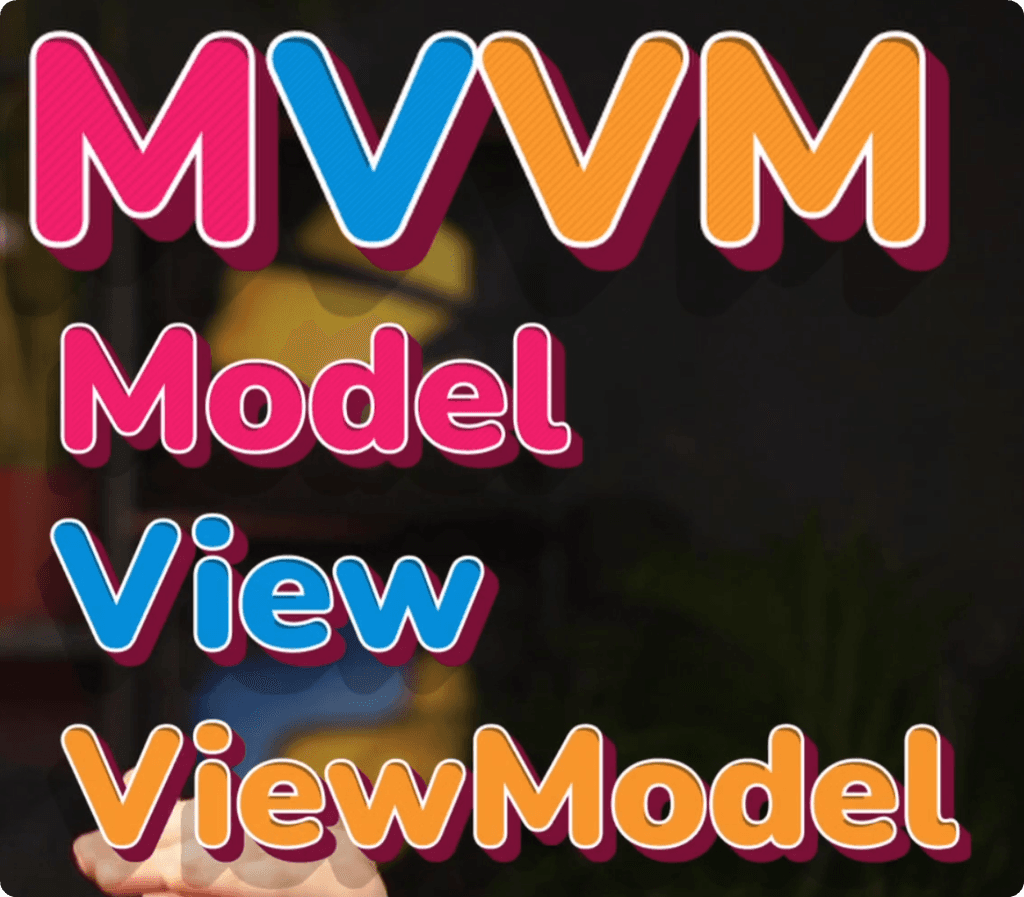
Next, let's talk about MVVM, which stands for Model-View-ViewModel
It's a design pattern that separates your application into three components:
Model: Manages the data and logic.
View: The UI layer that displays UI Form.
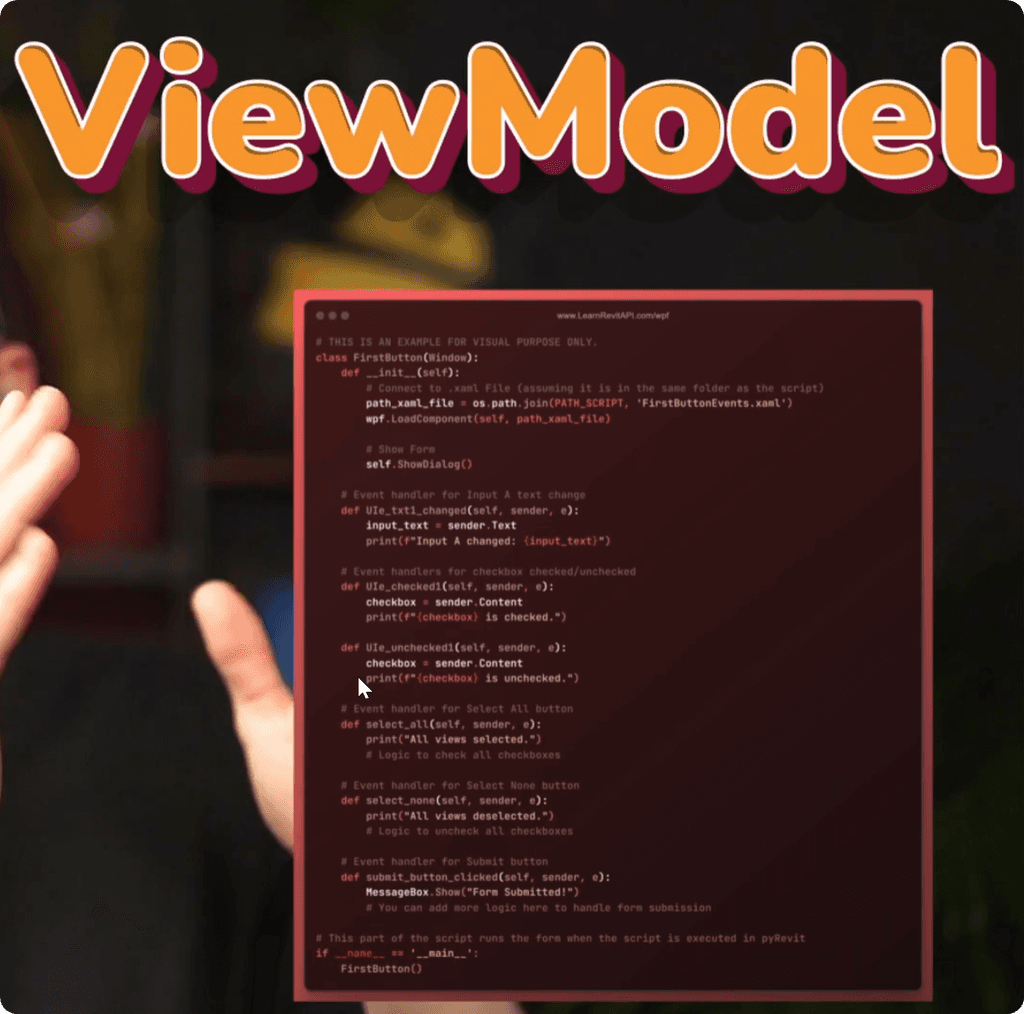
ViewModel: Translator between Model and View to handle data presentation and user commands.
In general it helps you separate the Front-End of your form and Back-End of your code, so it's more maintainable and easier to create. I will dive deeper in a moment, but let me explain meaning of Design Patterns for beginners.
Design Patterns in programming:
*Design patterns are typical solutions to common problems in software design. Each pattern is like a blueprint that you can customize to solve a particular design problem in your code.
It's a good topic to dive in for intermediate/advanced python users and I can recommend this website. But don't worry, you don't have to do it now, you can continue with this course without completely understanding what is MVVM and you will still be fine.
How MVVM would look in practice?
Let me explain MVVM one more time, but in simple terms, with an example.
Let's say that we want to:
Grab all views with Revit API
Display them in a ListBox to select multiple.
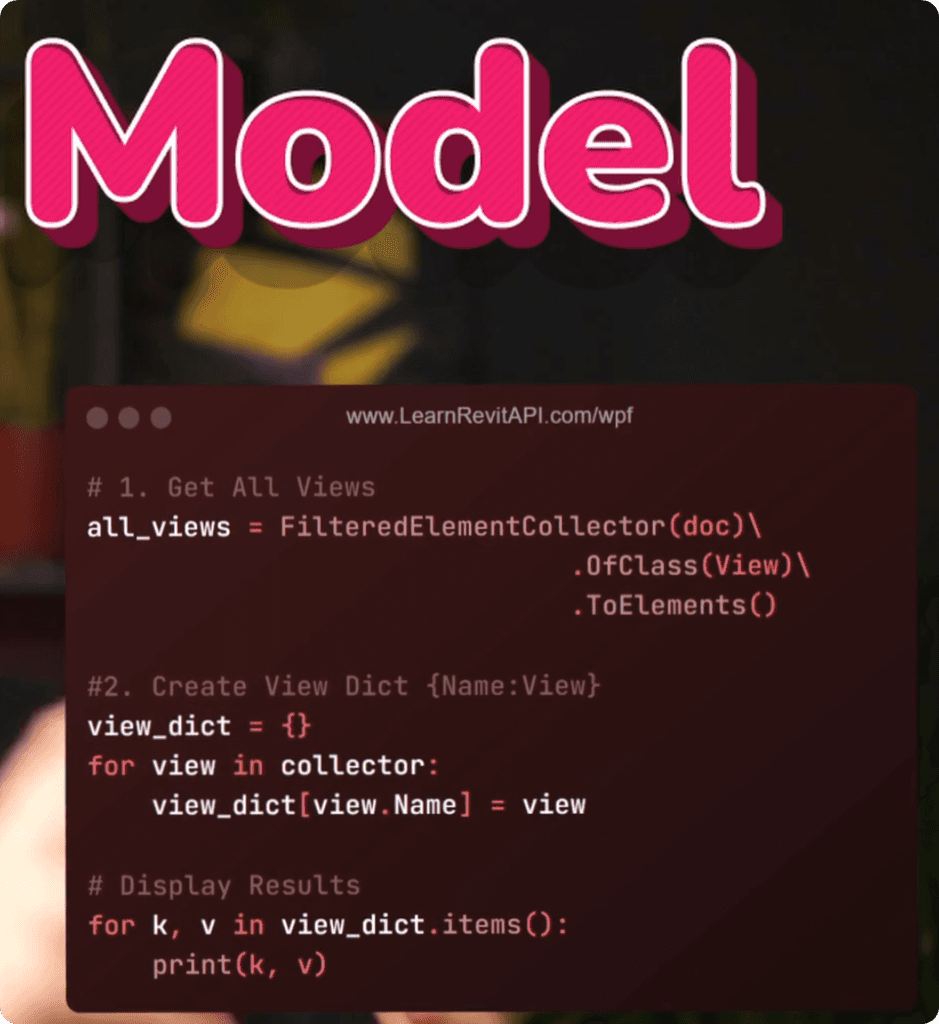
So firstly we need a Model.
It's our Python script where we'll:
Get all views
Extract all relevant Information
Prepare the Data
And define the logic of what happens next
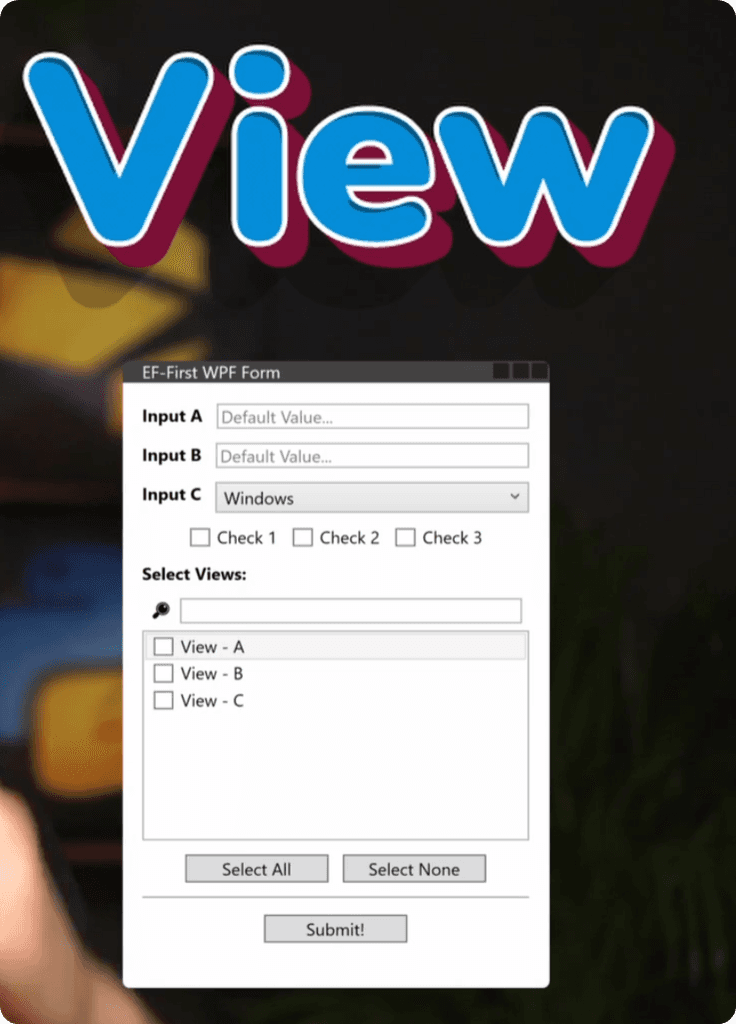
Then we need our View.
This will be the form written in the XAML format.
We can define:
TextBlocks
ListBox
Buttons
Other components…
And define their Properties and Event Triggers
This will be the template where we will feed our views and provide logic for interaction
And lastly, we need the ViewModel.
This is like a translator between View and Model.
We can't simply provide Revit API views to our form and expect it to display correctly. We need to wrap this data inside View compatible classes so they can be read and displayed correctly in our UI Form.
And that's the bare bones of your MVVM.
Model - is for the logic,
View - is for our front-end UI form,
ViewModel - is a data translator between the model and the view, so everything works seamlessly.
In general, it's about splitting your code into smaller manageable chunks so it's easier to create, test and maintain your code.
In C# you will notice that they can create a lot of mini classes for WPF forms, but personally I like to have single class for my pyRevit forms as I find it much easier for beginners and intermediate coders.
And I will teach you how I do that during this course.
Still Confused?
By now you might still be confused… What the hell is MVVM and WPF?
Don't worry, it will all start make a lot more sense when we will start coding. Because the best way of learning to code is by doing. And that's what we will focus on a lot during this course.
But let's take it one step at the time.
What's Next?
Before we dive deeper, it's essential to set up your Dev Environment and that's what we will focus on in the next lesson.
I wish you Happy Coding and I will see you soon.
