Summary
A Short Tour Around Visual Studio
By now, you should have your Visual Studio installed, and you were able to create that .NET WPF project.
Now, let me take you on a short tour around Visual Studio, and I want to show you a few essential things.
I will not go very deep; I just want to show you the most important things so you know where to focus your attention before we dive into XAML and start coding.
Let's continue where we stopped in the previous lesson.
WPF Designer (Preview Feature)
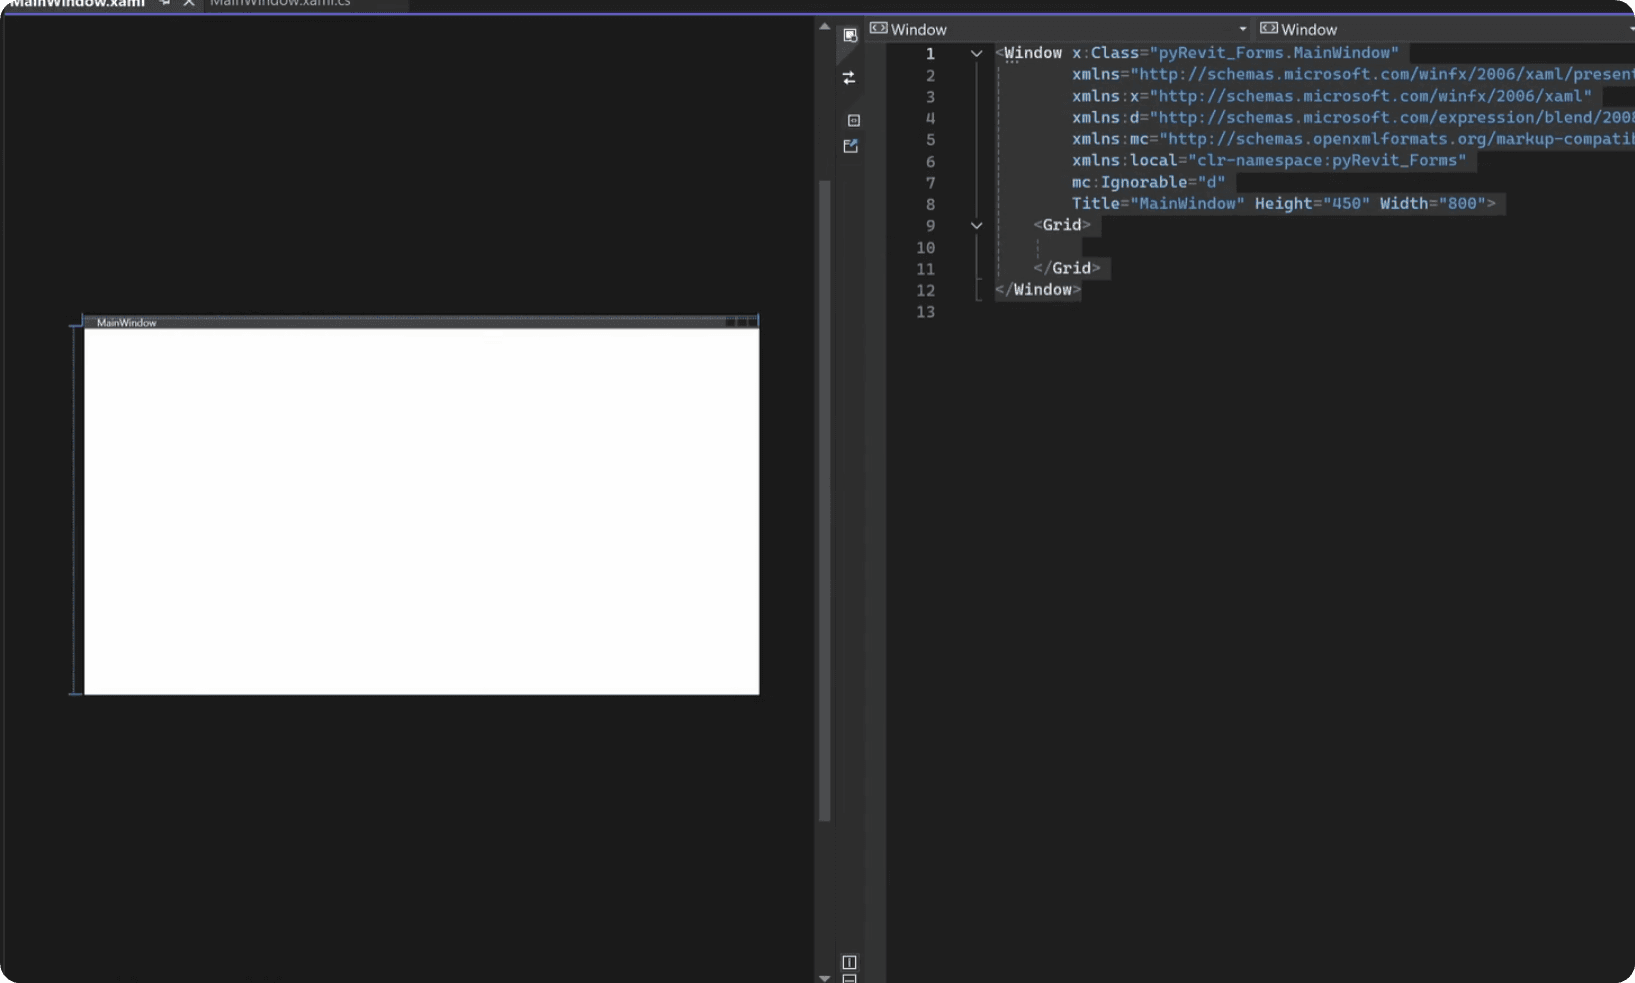
Once you start a WPF Project and open XAML file, you will see the main working area.
This is a place for writing a XAML code and see live preview of your form. This is the most important feature, because you need to see how your XAML code will look like to your users.
💡 We could also open C# and other files, but we won't need that. We are here just for the XAML code.
When you start a new project, XAML file always includes a placeholder template with a <Window> tag, which represents the WPF class of your form.
We will dive deeper in XAML controls and syntax in the next lesson, for now let's focus on the Visual Studio itself.
Let's add a new <Button> control as an example like this:
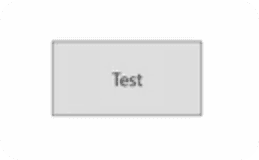
💡 We will dive deeper in XAML controls and syntax in the next lesson.
In this lesson let's focus on the Visual Studio IDE.
The Toolbox
When you start with WPF it's hard. There are lots of Controls (UI Components) and each has its own properties, events and you don't even know where to find them...
But there are places we can look inside of Visual Studio, like Toolbox for example. It's a menu where you can find a list of all WPF Controls.
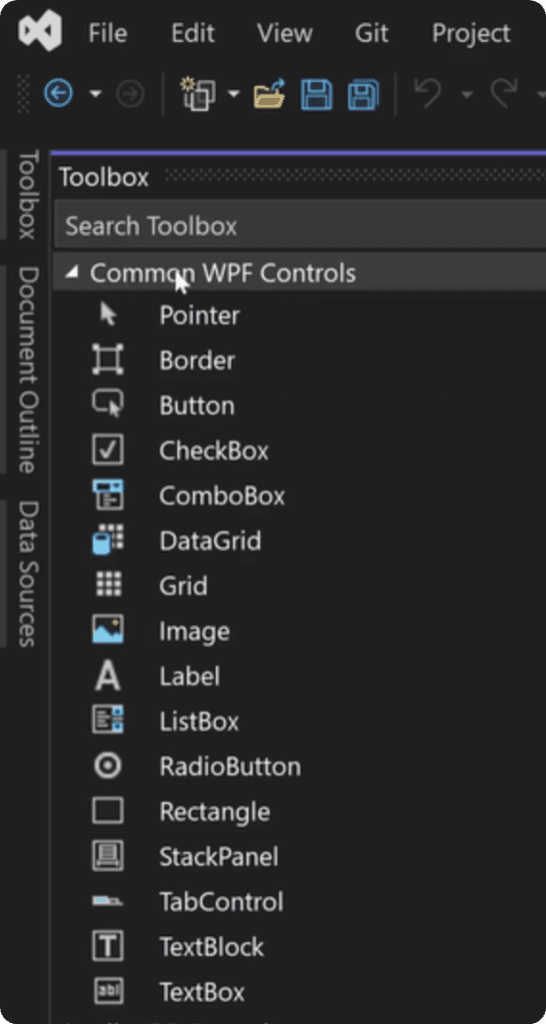
🔎 You can find it on the Left Sidebar.
When you click on it, it should open a menu with all WPF elements.
This is amazing for beginners to see all available elements. Once you know their name you can learn more about them.
You can also drag and drop them on the canvas to explore the elements. But don't do that for your final form.
There are better ways to control positioning in XAML with Stacks and Grids.
If it's closed you can open it again with CTRL+ALT+X shortcut, or you can go to View Menu and activate it there.
💡Control refers to UI Components in WPF Framework that represent a visible object in the form. (e.g. Button, CheckBox, TextBox, Grid, StackPanel...)
Interactive Preview
Also, notice that when you drag any of WPF Controls on the canvas, you will see changes in your XAML code.
In Visual Studio you have an interactive Preview. Not only you can see how your code will look like in the preview, but you can also interact with it an make changes that will update your code.
So it's a two-way street.
It's great to experiment and see what's available, but usually it's better and quicker to write XAML code once you know what to do.
Properties Window
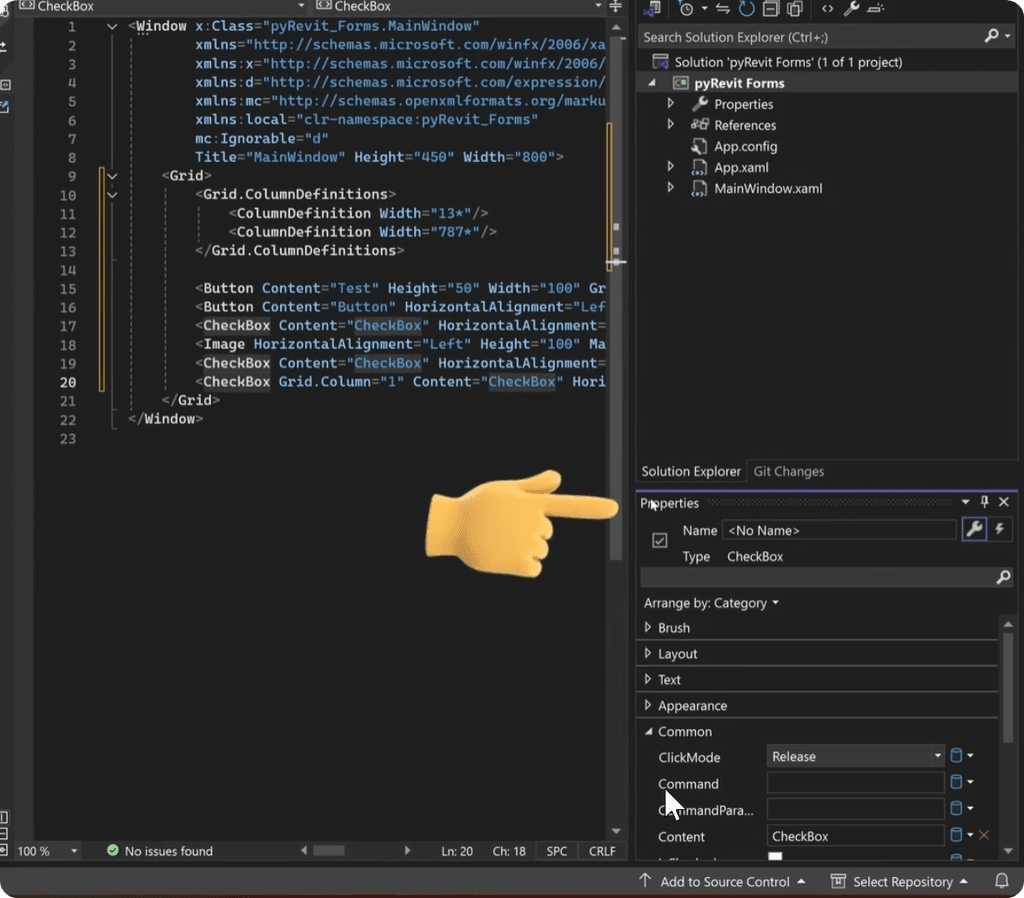
Let's select some element like CheckBox and have a look at its Properties.
You can right click and select properties to activate this menu.
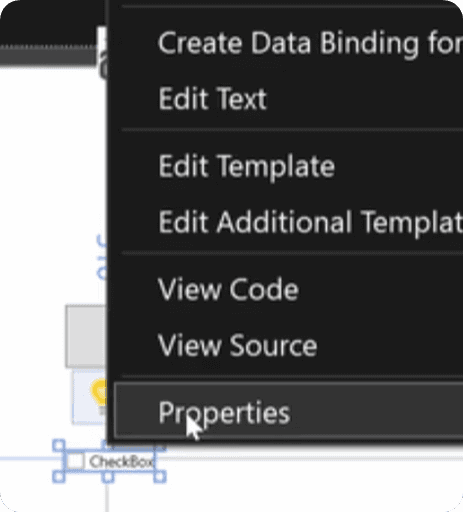
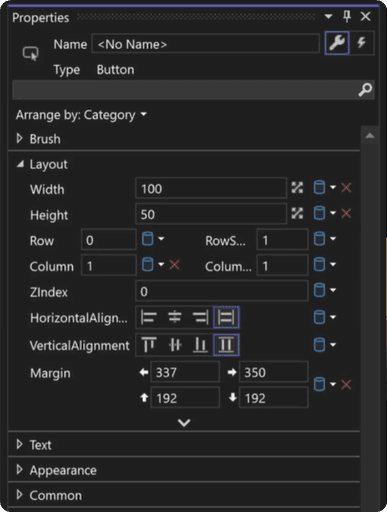
You will see a menu on the bottom right open up and you can see everything what's available inside that element.
You can change many attributes inside this menu. They are sorted in different pulldown menus like Brushes(Colors), Layout, Text, Appearance, Common.
You can have a look and try to make some changes. And notice that once you change any value, your XAML code updates as well.
In XAML syntax, similar to HMTL, all attributes are going to be defined inside the the start tag of the Control (more on that in next lesson)
This is a great way for a beginner to find the right attributes for various elements.
Code Changes
For example, during the video I selected one of the buttons and I changed a bunch of attributes. Then, we noticed that every change has added attribute change in my XAML code.
And it's both ways. I can also make changes in code and they will instantly be shown in Preview and Properties menus.
Event Triggers
When you design a UI Form, you will also use a lot of Events.
Events allow you to subscribe to certain actions and when this action is triggered you can execute some snippet or make UI changes based on the logic you provide. It's called Event Handler.
For example, the most basics one is Button Click.
You can create many buttons and you would need to define what happens when you click each of them. Maybe it triggers a change in UI or you execute some Revit API Code. That's up to you, but you need ot use Events to do that.
There are a lot of Events in WPF… Luckily, you can have a look at the list of all events in the properties menu. There is a little Spark Icon that will open a list of all available Events for currently selected WPF Control.
🔎To see a list of all available Events for the element, we can click on the spark icon inside the properties menu.
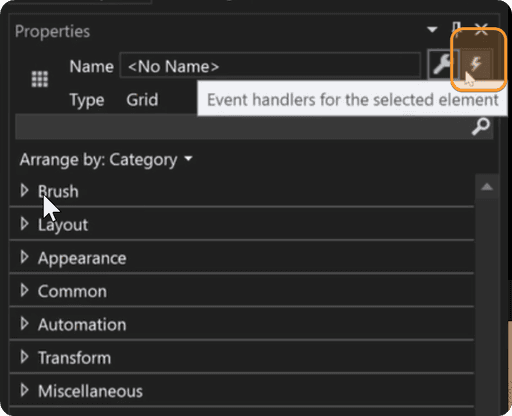
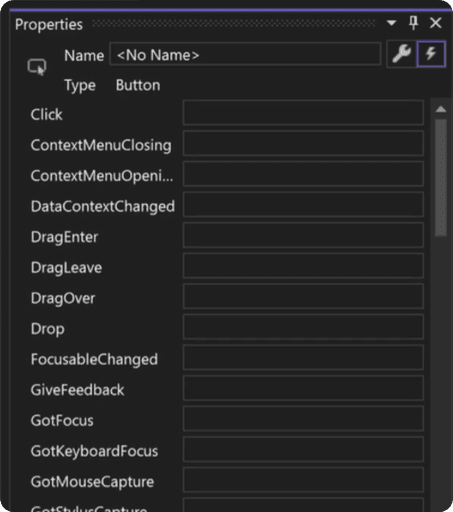
As you can see there is a big list of events. Click, DragEnter, MouseOver, Pressed… You can set an event probably on any action you can imagine with UI Components.
Subscribe to Event
We will cover how to work with events in more detail later during the course. For now you just need ot know where to find a list of all events.
But in short, to subscribe to an event, you need to write the name of the event like any other Property and assign a custom name for your EventHandler.
Later in python you will need to create a method in a class that will correspond to this event.
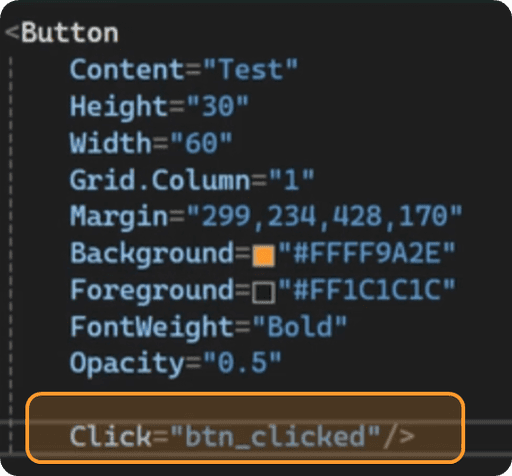
💡You might open a C# file when you assign an Event via UI.
It might be confusing or even intimidating to see your form disappear, but don't worry. WPF Preview window disappeared because you opened C# file. If that happens, you can close the cs file and go back to xaml code.
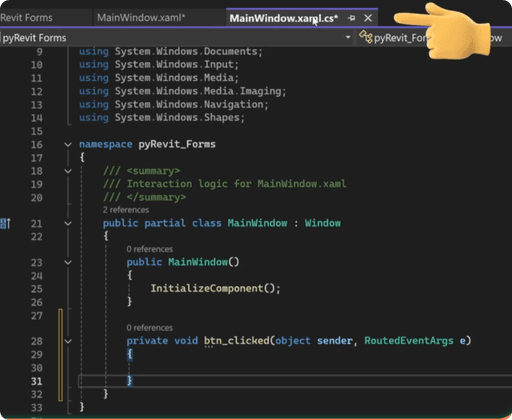
Usually, when you design WPF, your Front-End is strongly tied to your Back-End code and it's easier to manage your code. But for pyRevit it's irrelevant, because we will copy our XAML code and continue writing python code in our usual IDE like pyCharm or VS Code.
Remember, Visual Studio doesn't support IronPython anymore and it's a hassle to install older versions and make it work properly. And even then, we will still need to copy xaml code and connect to our pyRevit scripts.
Solution Explorer
Next, let's look at the obvious project explorer on the right top corner.
💡 If it's closed you can go to View -> Solution Explorer or use CTRL+ALT+L shortcut to open it again.
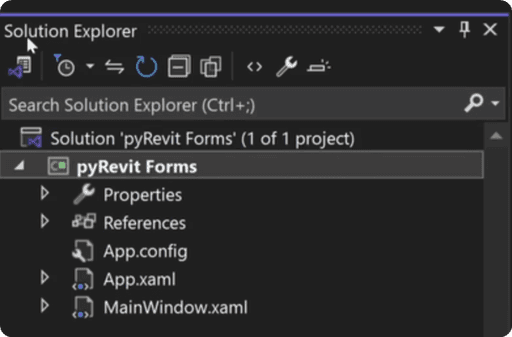
💡 You will notice different files and properties there, but you can ignore everything.
Remember, we only need .xaml files in Visual Studio, so we can access WPF Designer features to easier design the front-end of our WPF Forms. Then, we will copy the code and move it to pyRevit extension. I will show you everything step-by-step later in the course.
📁 I recommend you to create a single WPF project for all your forms, and put all .xaml files in a new folder. This will make it easier to reference previous code and copy some parts if needed.
Play (Form Preview)
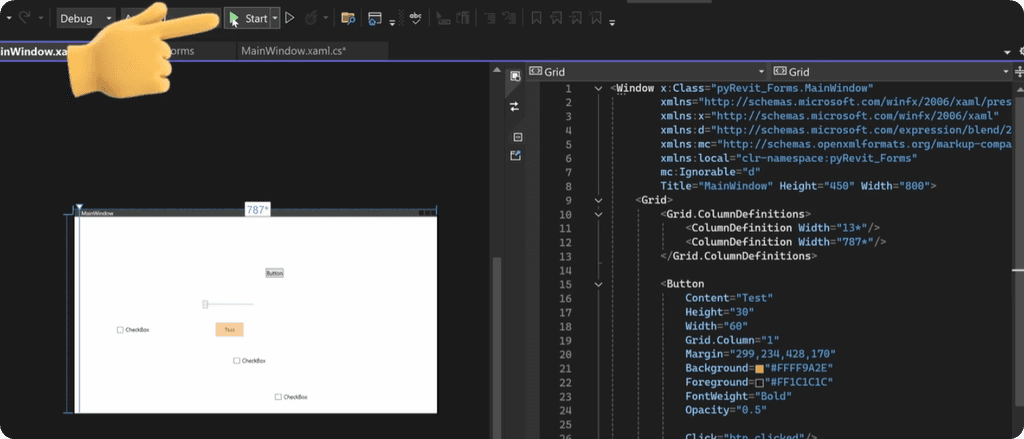
Usually, WPF Designer is used to create a UI of for a stand alone application. And therefore there is a test feature to run your application with a Play button and see how it would work.
However, when you only write XAML code in Visual Studio and ignore all other parts of the code, it won't work whne your form gets more complicated or you have more files. So don't get your hopes up.
💡It will be much better to preview your form right inside of Revit UI.
When I develop my WPF forms usually I follow these steps:
Create Dummy XAML Code (Only visual, no functionality)
Connect XAML to pyRevit
Display form inside of Revit
ONLY THEN
Add WPF Events
Add Form/Revit API Functionality
By following these steps, it becomes easy to test your code and spot the mistakes early on. This makes it very easy to realize when you made a mistake and debugging process is much simpler.
From this point you would add features one step at the time and test it before moving to the next one. Otherwise, you might overcomplicate everything and debugging will be a nightmare.
Trust me, I learnt it the hard way…
Document Outline
Lastly, there is a cool feature in Visual Studio to get a good overview of your code - Document Outline.
As you've noticed, XAML code is hierarchal structured. Meaning, all controls are related to each other and affect how the form looks like.
This outline menu is a great way to see the order of your controls and their relations without seeing all other code attributes that can be distracting.
It's mainly used for easier navigation and overview but I also use it to reference the custom name I assigned to all elements.
That's another step we will talk about later, to relate elements from XAML code inside your python code…
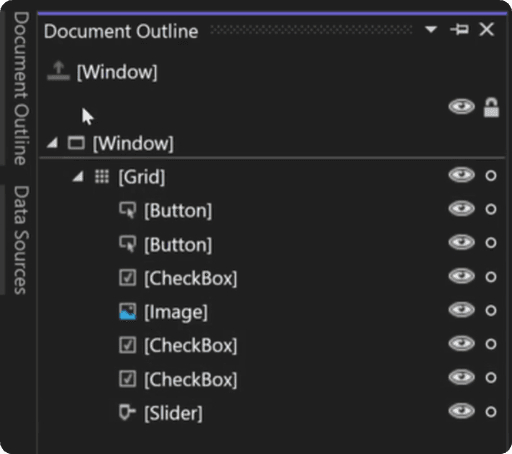
💡You can also collapse and open elements as pulldown menus in XAML. It can also help you to navigate easier and isolate the code you are working on.
⌨️ If you close Outline, you can reopen it from View -> Other Windows -> Document Outline or use CTRL+ALT+T.
Conclusion
I hope that Visual Studio UI makes a lot more sense now.
This is just the tip of the iceberg, but we won't need more than that. We just need 1% from Visual Studio to create our XAML code with WPF Designer.
Because, once you write your XAML code, we will copy it to pyRevit extension and continue in our regular Revit API Dev Environment.
What's Next?
Before going to the next lesson, make sure you look around Visual Studio and don't be afraid to click everywhere.
Test everything now and if you break something - Great!
It means you learnt what you shouldn't do in the future on your real code.
And once you got more comfortable with Visual Studio it's time to learn more about XAML Syntax. I will see you in the next lesson where we will write the Front-End code for your First pyRevit WPF Form.
