In this module we will focus on creating reusable forms. And let's start with the most reusable form you will ever create - Alert Form.
In this module we will focus on creating reusable forms. And let's start with the most reusable form you will ever create - Alert Form.
Summary
Welcome Back
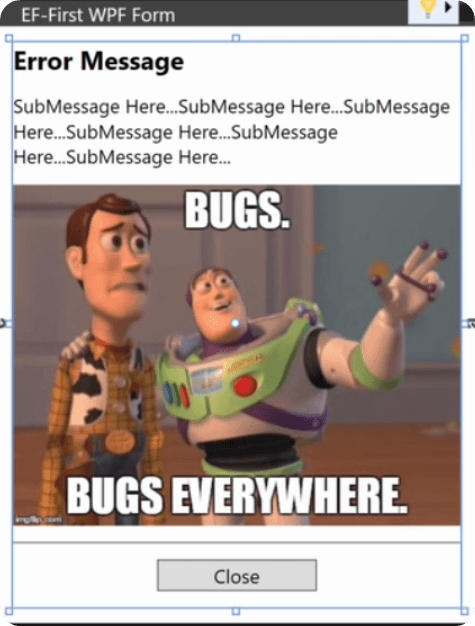
In this lesson, we'll make a simple alert form, and we’ll also add an option to provide an image, so we can insert a few funny memes inside our WPF forms
Let’s open Visual Studio Code and just begin the lesson with the default code.
<Window Title="EF-First WPF Form"
        xmlns="http://schemas.microsoft.com/winfx/2006/xaml/presentation"
        xmlns:x="http://schemas.microsoft.com/winfx/2006/xaml"
        Height="Auto" Width="300" MinHeight="100"
        WindowStartupLocation="CenterScreen" ResizeMode="NoResize">
</Window>
Setting Up the Base Form
Let's start by creating the front end of our form and then we will move to python and make it work in pyRevit.
This is a very simple XAML form and you are more than capable doing it on your own already. There will only be a 1 new control - <Image>, and it's not complicated either.
So here is the XAML code.
<Window Title="EF-Alert"
xmlns="http://schemas.microsoft.com/winfx/2006/xaml/presentation"
xmlns:x="http://schemas.microsoft.com/winfx/2006/xaml"
Height="Auto" Width="300" MinHeight="100"
WindowStartupLocation="CenterScreen" ResizeMode="NoResize">
<StackPanel Margin="10">
<TextBlock x:Name="UI_msg"
Text="Error Message"
Margin="0,0,0,10"
TextWrapping="Wrap"
FontWeight="Bold"
FontSize="16"/>
<TextBlock x:Name="UI_submsg"
TextWrapping="Wrap"
Margin="0,0,0,10"/>
<Image x:Name="UI_img"
Height="Auto"
Margin="0,0,0,10"
Visibility="Collapsed"/>
<Separator Margin="0,0,0,10"/>
<Button Content="Close"
Width="100"
Margin="0,0,0,10"
Click="UIe_btn_run"/>
💡 Notice that I've also introduced TextWrapping property so text can take multiple lines.
💡 I've also added x:Name attributes, so we can get these elements inside the code later.
Image Control
Before we move to the python code, let's have a look at <Image> control.
Obviously you would need to provide the path to you image file so it can be displayed in the WPF, and for that we need to use Source property.
Here is an example:
<Image x:Name="UI_img"
Source ="Absolute/Path/Here"
Height="Auto"
Margin="0,0,0,10"
Visibility="Collapsed"/>
But for now, we will keep Visibility ="Collapsed" because it will be an optional argument, and we will activate it if we need it.
WPF Base
Next, let's prepare the WPF Base Class for this Form.
We will connect our XAML code to the WPF Class and try to display the form in Revit. And once it works we will be able to move to the next steps.
Here is the python code for this step:
__title__ = "03.01 - Alert"
__doc__ = """Version = 1.0
Date = 24.10.2024
________________________________________________________________
Description:
Learn how to create Alerts form that includes
- Error Heading and SubMessage
- Image (optional)
- Button
- ExitScript Functionality
________________________________________________________________
Author: Erik Frits"""
from Autodesk.Revit.DB import *
from pyrevit import forms
import wpf, os, clr, sys
clr.AddReference("System")
from System.Windows import Window, Visibility
from System import Uri
from System.Windows.Media.Imaging import BitmapImage
PATH_SCRIPT = os.path.dirname(__file__)
doc = __revit__.ActiveUIDocument.Document
uidoc = __revit__.ActiveUIDocument
app = __revit__.Application
class AlertForm(Window):
def __init__(self):
path_xaml_file = os.path.join(PATH_SCRIPT, 'Alert.xaml')
wpf.LoadComponent(self, path_xaml_file)
self.ShowDialog()
def UIe_btn_run(self, sender, e):
"""Button action: Rename view with given """
self.Close()
UI = AlertForm()
💡Make sure you have an EventHandler for your submit <Button> Event.
Test & Debug (Height = 'Auto')
Now it's time to test the form with out Base WPF Class.
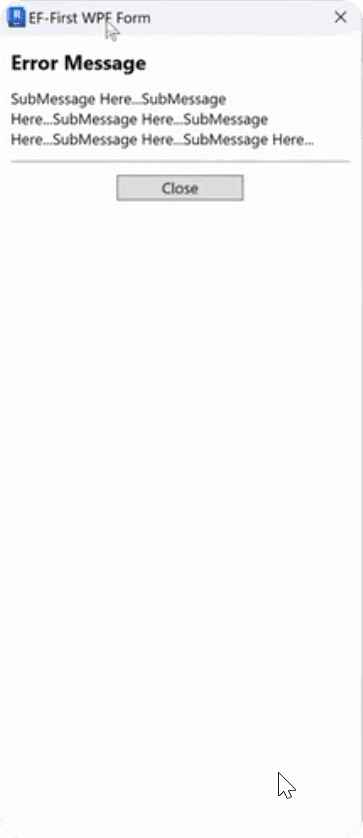
It should just display the front-end without working functionality. And while it shows up the form you might've noticed that the height of the form is wrong.
It's much taller for no reason, and that's because of Height="Auto" property.
I don't know why it happens, but I've found how to solve this issue. You just need to add another property SizeToContent="Height" and then it will work well.
So make sure to adjust this XAML part:
<Window Title="EF-Alert"
        xmlns="http://schemas.microsoft.com/winfx/2006/xaml/presentation"
        xmlns:x="http://schemas.microsoft.com/winfx/2006/xaml"
        Height="Auto" Width="300" MinHeight="100"
        WindowStartupLocation="CenterScreen" ResizeMode="NoResize"
        SizeToContent="Height">
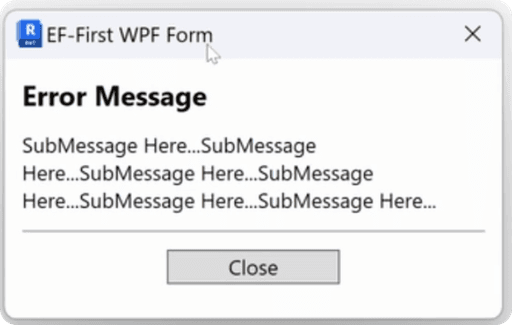
And if you test it once more, now your base form should be shown with the correct height.
Now we just need to configure our input.
Add Alert Arguments
Now let's modify the class so we can provide a few arguments and then add the logic for them.
We will need the following:
msg
submsg (optional)
image (optional)
title (optional)
exitscript bool (optional)
Then once we get these arguments, we also need to add code to change the values in our WPF form.
Also we will store exitscript value so we can exit the script after we close the form if necessary inside the event handler for the button.
Here is how to do that:
class AlertForm(Window):
def __init__(self, msg, sub_msg="", image_path="", title='EF Alert Form', exitscript=False):
path_xaml_file = os.path.join(PATH_SCRIPT, 'Alert.xaml')
wpf.LoadComponent(self, path_xaml_file)
self.Title = title
self.UI_msg.Text = msg
if sub_msg:
self.UI_submsg.Text = sub_msg
if image_path:
self.UI_img.Source = BitmapImage(Uri(image_path))
self.UI_img.Visibility = Visibility.Visible
self.exitscript = exitscript
self.ShowDialog()
def UIe_btn_run(self, sender, e):
"""Button action: Rename view with given """
self.Close()
if self.exitscript:
sys.exit()
💡Make sure you import Visibility class from .NET instead of Revit API class.
Test with Image
Alright our class is ready, now we can test our form.
Let's get the absolute path of the image i've prepared and provide it as an arugument as well.
Here is code to test the function:
print('Before')
img_name = "meme_bug.jpg"
img_path = os.path.join(PATH_SCRIPT, img_name)
sub_msg = ("This is a relly long message, so we can test wrapping and stuff."
"This is a relly long message, so we can test wrapping and stuff.")
UI = AlertForm('Error Message 1', sub_msg=sub_msg,
image_path=img_path,title= 'Alert Message',
exitscript=True)
print('After')
And here is the final form:
Final Code
Let me put here the final code to avoid any confusion.
XAML:
<Window Title="EF-Alert"
xmlns="http://schemas.microsoft.com/winfx/2006/xaml/presentation"
xmlns:x="http://schemas.microsoft.com/winfx/2006/xaml"
Height="Auto" Width="300" MinHeight="100"
WindowStartupLocation="CenterScreen" ResizeMode="NoResize"
SizeToContent="Height">
<StackPanel Margin="10">
<TextBlock x:Name="UI_msg"
Text="Error Message"
Margin="0,0,0,10"
TextWrapping="Wrap"
FontWeight="Bold"
FontSize="16"/>
<TextBlock x:Name="UI_submsg"
TextWrapping="Wrap"
Margin="0,0,0,10"/>
<Image x:Name="UI_img"
Height="Auto"
Margin="0,0,0,10"
Visibility="Collapsed"/>
<Separator Margin="0,0,0,10"/>
<Button Content="Close"
Width="100"
Margin="0,0,0,10"
Click="UIe_btn_run"/>
__title__ = "03.01 - Alert"
__doc__ = """Version = 1.0
Date = 24.10.2024
________________________________________________________________
Description:
Learn how to create Alerts form that includes
- Error Heading and SubMessage
- Image (optional)
- Button
- ExitScript Functionality
________________________________________________________________
Author: Erik Frits"""
from Autodesk.Revit.DB import *
from pyrevit import forms
import wpf, os, clr, sys
clr.AddReference("System")
from System.Windows import Window, Visibility
from System import Uri
from System.Windows.Media.Imaging import BitmapImage
PATH_SCRIPT = os.path.dirname(__file__)
doc = __revit__.ActiveUIDocument.Document
uidoc = __revit__.ActiveUIDocument
app = __revit__.Application
class AlertForm(Window):
def __init__(self, msg, sub_msg="", image_path="", title='EF Alert Form', exitscript=False):
path_xaml_file = os.path.join(PATH_SCRIPT, 'Alert.xaml')
wpf.LoadComponent(self, path_xaml_file)
self.UI_msg.Text = msg
if sub_msg:
self.UI_submsg.Text = sub_msg
if image_path:
self.UI_img.Source = BitmapImage(Uri(image_path))
self.UI_img.Visibility = Visibility.Visible
self.Title = title
self.exitscript = exitscript
self.ShowDialog()
def UIe_btn_run(self, sender, e):
"""Button action: Rename view with given """
self.Close()
if self.exitscript:
sys.exit()
print('Before')
img_name = "meme_bug.jpg"
img_path = os.path.join(PATH_SCRIPT, img_name)
sub_msg = ("This is a relly long message, so we can test wrapping and stuff."
"This is a relly long message, so we can test wrapping and stuff.")
UI = AlertForm('Error Message 1', sub_msg=sub_msg,
image_path=img_path,title= 'Alert Message',
exitscript=True)
print('After')
Wrapping Up
Alright this form works exactly like we want to.
In the next lesson, I'll show you how to make it reusable, so you can easily import it into any of your pyRevit scripts and reuse it over and over.
Happy Coding, and make sure you recreate this form that we did here together. Feel free to experiment and adjust it to your own needs.
🙋♂️ See you in the next lesson.
- EF
🙋♂️ See you in the next lesson.
- EF
Discuss the lesson:
P.S. Sometimes this chat might experience connection issues.
Please be patient or join via Discord app so you can get the most out of this community and get access to even more chats.
Discuss the lesson:
P.S. Sometimes this chat might experience connection issues.
Please be patient or join via Discord app so you can get the most out of this community and get access to even more chats.


