
Resources
Summary
It's time to setup your Revit API Development
By the end of this lesson we will install 1-2 Revit Add-ins for Revit API, and setup Revit API Autocomplete in your IDEs(code editors) such as pyCharm and VS Code.
💡I recommend you to setup both IDEs, because there are times when one or the other is not working correctly, and instead of wasting time on solving the issue, you can jump between them. Or occasionally you might want to open both of them at the same time.
💡But personally, I will be using pyCharm in 99% of this course.
Let's begin.
Installing Essential Revit API Add-ins
When working with Revit API, we need just a few Add-ins:
pyRevit (duh…)
Revit Lookup
RevitPythonShell (optional)
All of them are Free to use and open-source.
You should already have pyRevit installed, so let's have a look at the other 2.
Install Revit Lookup (MUST HAVE)
Firstly, let's install Revit Lookup, which is by far the most used add-in for any Revit API developer.
💡 This Add-in allows you to look behind the scenes and explore your Revit elements.
You will see attributes and all available data in Revit API for selected elements. This is great because you can see names of Properties that you have to use and also see the values that will be returned.
👇Here is how it looks:

To install it, download the the latest release from GitHub and run the installer as usual.
Once it's installed you will find it in the Add-Ins tab.
Is Revit Lookup Safe?
💡You might see a warning during installation and don't worry it's safe!
Revit Lookup has been developed my Jeremy Tammik, who is actively involved in Revit API and works for Autodesk.
He also has an OG blog for Revit API called The Building Coder, it's 99% for C# users, but you will often end up on that blog when you search for answers.
Here is some of his info

Installing Revit Python Shell
The second plugin we can install is optional and it's RevitPythonShell.
This plugin was developed by Darren Thomas and it's also the base on which pyRevit was built. This provides you a python shell inside of Revit, which can be useful for testing and debugging small code snippets.
But keep in mind that it might not be maintained for Revit 2025+ anymore. It works well in Revit 2023, but I'm not even sure if it works for Revit 2024. So it's up to you if you want to install it or not.
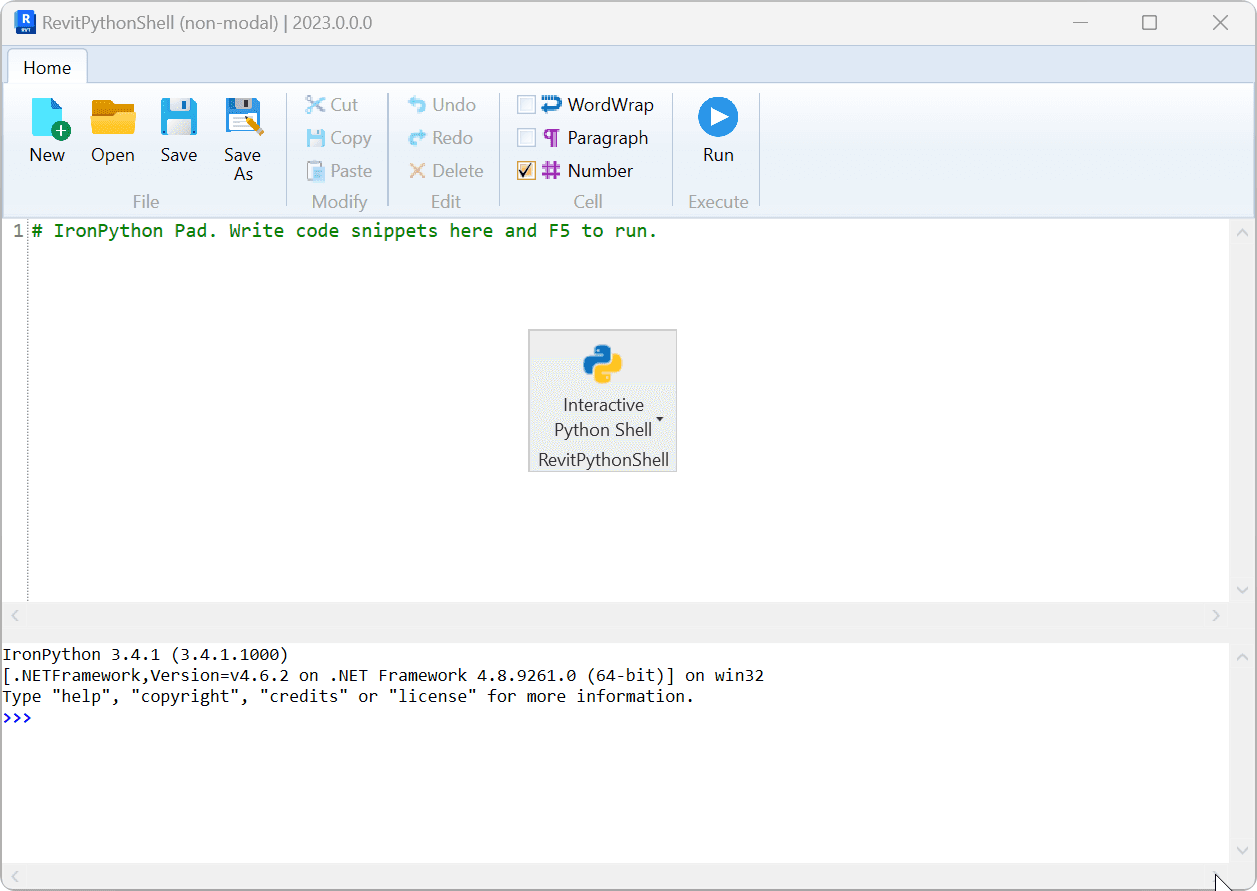
Here is how it looks in Revit.
Setup IDE - Download Revit API Stubs
Next, we're going to install and setup our IDEs (Code-Editors).
But first, we need to download Revit API stubs from here. You will also find a video on how to create Revit API stubs yourself, but you can just download it from under the video.
💡Download Revit API stubs for the version you are most interested in, I will grab 21 and 23.
Once you download, place it somewhere safe on your PC, for example:
C:\Users\USERNAME\AppData\Roaming\revitapi_stubs
💡 You can call the folder anything you want.
Install + Configure: Visual Studio Code
Let's start with VS Code.
Go to the VS Code official website, download and install it as usual.
Install VS Code
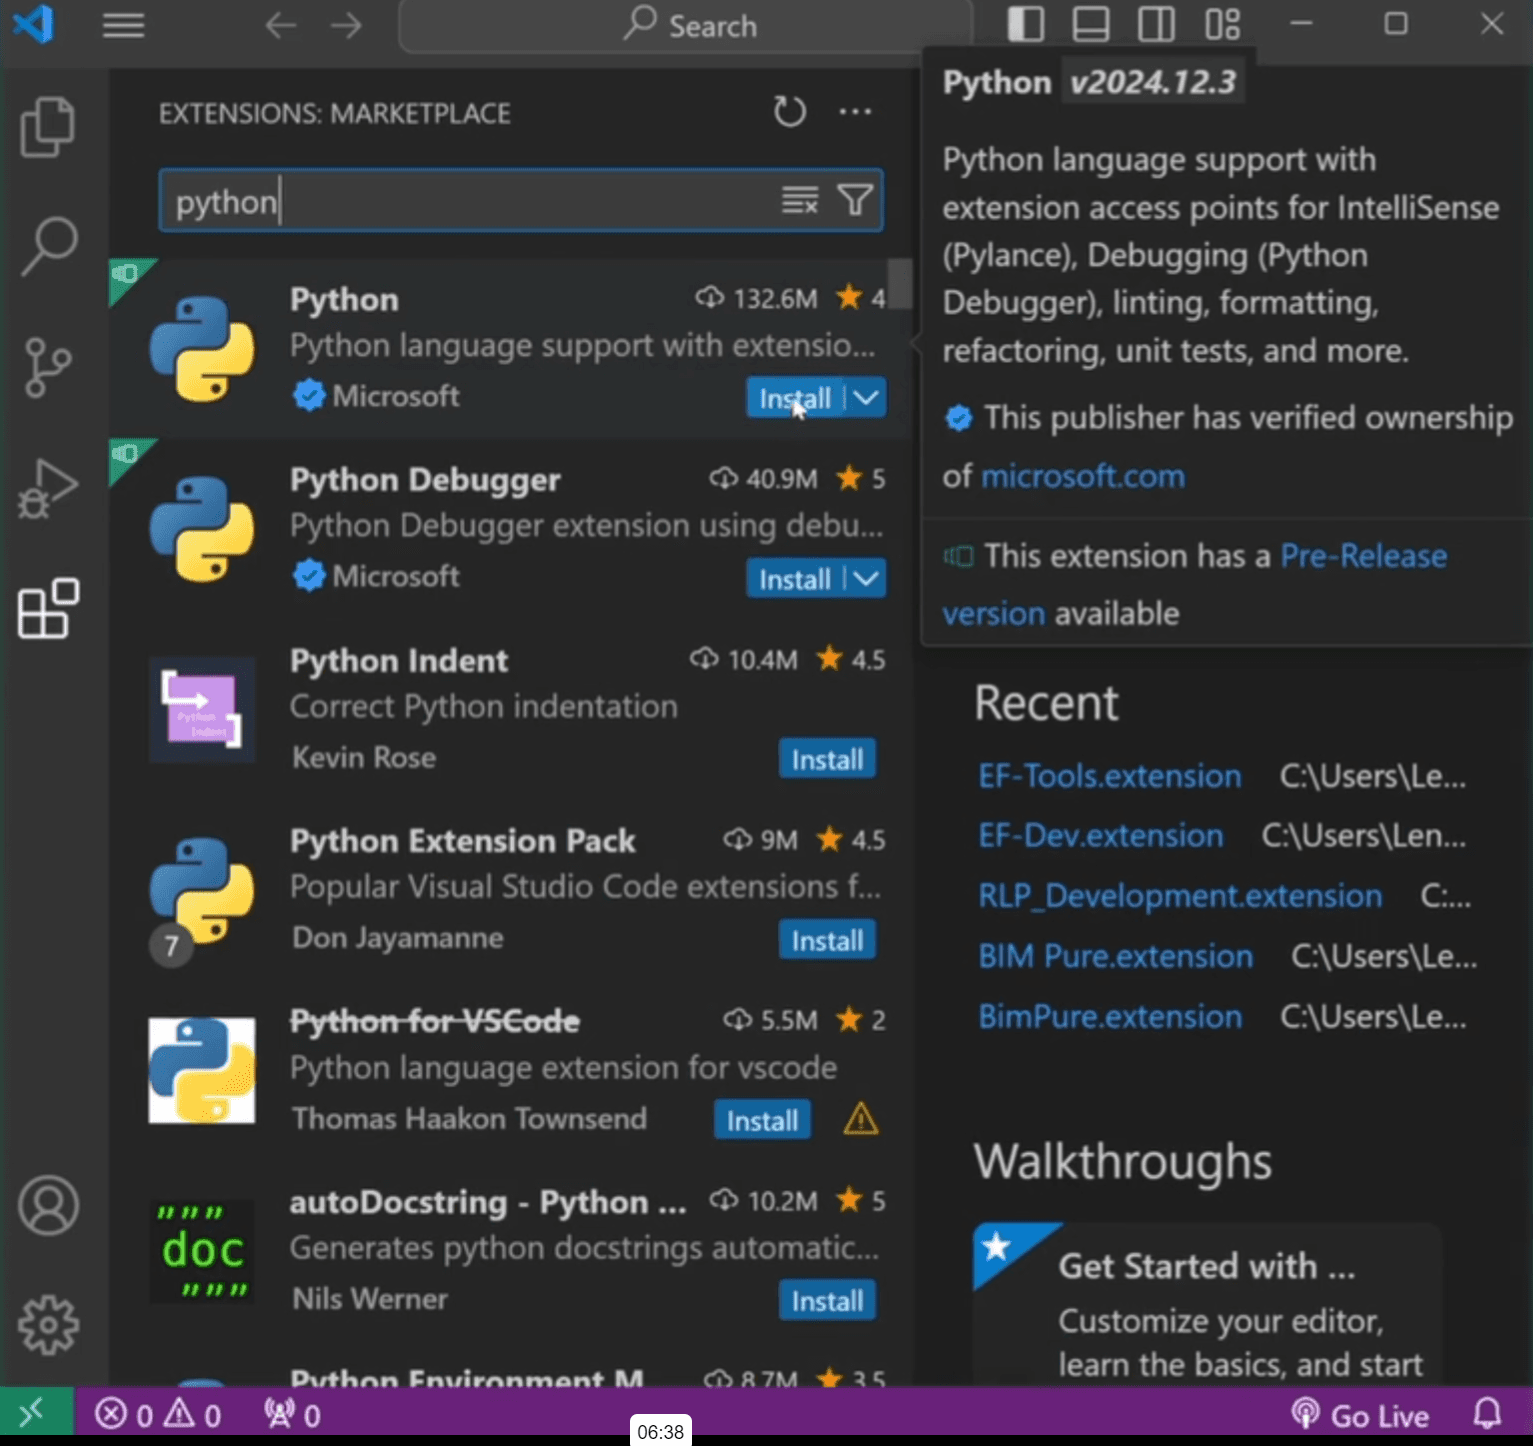
Open and go to Extensions
Download 'python' Extension
Once you do that, you can check if you python default autocomplete works.
I always test with os module like this.
Now we can setup Revit API autocomplete. And it's not copmlicated.
Go to Extensions, search for python extension and Right Click to go to "Extension Settings".
Then in Python>Auto Complete: Extra Paths you will see a button Edit in settings.json
Click it and then you need to paste path to your Revit API Stubs and pyrevit-masters library.
Here is my settings.json file:
💡Make sure you place your own path to Revit API Stubs and pyrevitlib.
After that, restart VS Code and Revit API Autocomplete should work. Here is how you can test it:
Install Python Before Configuring PyCharm
Before we setup your Revit API Autocomplete in pyCharm, we need to install python on your machine.
💡 It doesn't matter what python version you are going to install, because we will never run Revit API code from any IDE.
The code will only be run via Dynamo, pyRevit or RevitPythonShell engine, because IDE don't have access to the Revit application, which is necessary to interact with the software.
However, I like to use the same version of python that is used by pyRevit, and we can check it in the About page of pyRevit
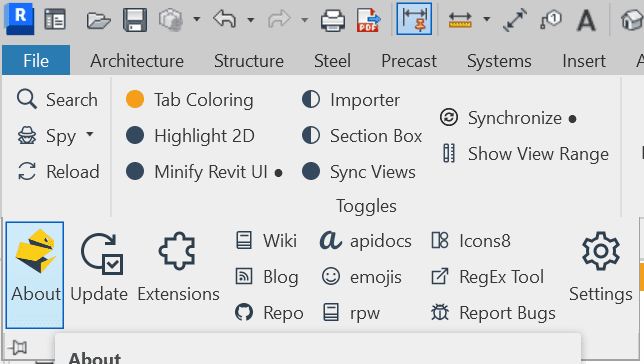
At the moment of recording, pyRevit uses IronPython 2.7.11, but I would not recommend installing IronPython, as many IDEs might not have proper support for that.
So I will download regular Python 2.7.11 from here and install it as usual.
What is Venv (Virtual Environment) ?
One more thing before we start configuring your pyCharm IDE.
We will have to create 1 or multiple virtual environments so we can provide Revit API stubs to multiple versions and then switch between them with a click.
Virtual Environments allowsu s to preconfigure python environment for different purposes with its own set of packages, references and stubs.
This allows you to create multiple 'containers' for different purposes and they won't interfere with each other.
Imagine you have many boxes with different tools for different projects and you don't won't to mix them up.
Install + Configure: PyCharm
Lastly, let's configure our pyCharm.
Firstly, open it up and either create a new empty project, or open your own pyRevit extension as a project.
Then you need to create a new Python Interpreter.
Here is how to do that:
Open Interpreter Settings (Bottom Right)
Then Show All Python Interpreters
Click on + Sign to add new one
Set location for your pyCharm Venv (Any location is fine)
Click OK
Restart IDE before adding references
Now we need to add references to Revit API stubs and pyRevit lib.
Open Interpreter Settings (Bottom Right)
Then Show All Python Interpreters
Select Your python interpreter
Click on 'Show Interpreters Path' (Most Right Icon from '+' icon)
Add path to Revit API Stubs folder
Add path to pyRevit-Master/pyrevitlib folder
Click OK to save and test if Revit API Autocomplete Works
Now let's test if Autocomplete Works
💡 Restart IDE if Autocopmlete doesn't work
💡 Do not add more than 1 Revit API Stubs in the same venv. None will work
Now if you setup multiple venv for different Revit API versions, you will be able to switch between them.
Click on Python Interpreter settings (Bottom Right) to choose the right Revit API venv.

What's Next?
After this lesson you should have you Revit API dev Environment setup correctly. And it means that you are ready to go to the next lesson where you will learn about pyRevit Script Anatomy and prepare a python template that you will reuse in all your future tools.
HomeWork
Prepare your Revit API Dev Environment:
Install RevitLookup
Install RevitPythonShell (optional)
Download and Setup VS Code
Download and Setup pyCharm
Test if your Revit API autocomplete works.
In case of an error:
Rewatch the tutorial
Ask for help in the community
Please describe the steps you've made
Any error messages that you've encountered
💡 The more context you provide, the easier it is to help you solve your issue!
⌨️ Happy Coding!