
Resources
Presentation
Summary
Welcome to the Revit API Course for Beginners
In this first lesson, I want to introduce you to Revit API with PyRevit, and we’re going to talk about:
What Revit API is
What the benefits of using it are.
Then, I’m going to show you Revit API in action so you understand how to apply it.
Why python/pyRevit and not C#
Why today is the best time to start coding.
💡 Also, keep in mind that this first module is going to be free for everyone so I can help as many people get started as possible.
This course was designed for Revit users who are not afraid of programming, and I’m super excited to guide you on this journey.
I’ll do my best to make it as simple as possible for you to get started and provide all necessary resources.
What is Revit API?
API stands for Application Programming Interface.
In simple terms, it’s a documented set of instructions written by the developer of an application to share pieces of functionality of the software.
So, Revit API allows developers like us to extend the functionality of Revit with custom add-ins.
It might sound confusing, but I will explain it in a very simple and visual way in just a moment. It will all make sense, I promise you that.
Benefits of Revit API
Let’s talk about the benefits of learning Revit API. Why would you want to learn it in the first place?
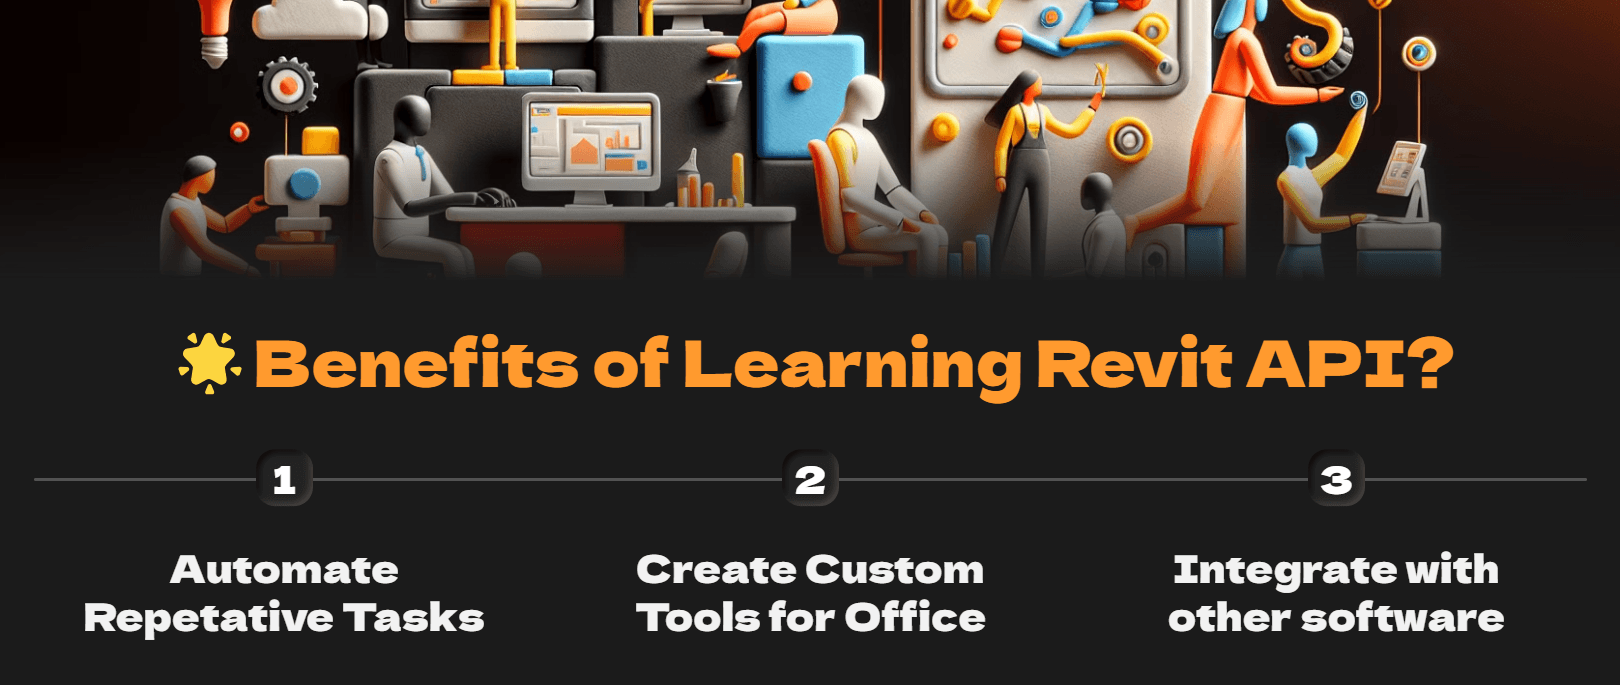
You want to learn Revit API because it's going to allow you :
Automate your repetitive and boring tasks
Create custom tools and workflows for your office
Intergrade with other software
Manage your BIM data like never before
And more!
How many times have you installed a Revit add-in and it wasn’t exactly what you wanted? What if you could create your own add-in to suit your specific needs?
Wouldn’t that be amazing?
Revit API used to be hard
We used to spend a lot of time learning how to use Revit API. Months before you could start using it…
But AI tools and PyRevit have reduced this barrier of entry by a lot. And don’t take my word for it;
check out what others say.

Anthony Juste
BIM Specialist at NIRAS
And this was before I made amazing free resources that will make it even faster and easier to get started, 🎁 which you will get in this lesson.
Revit API in Action - Create Wall Manually (Part 1)
Let me show you Revit API in action so you can actually understand the value of learning Revit API and how you can apply it.
💡 Imagine this:
Every time you do anything in Revit, there is code running in the background.
For example, if you want to create a wall in Revit UI, you would click on the wall button, then select two points from here to here, and you pretty much have your wall with the default wall type, height, level, and so on…
Revit API in Action - Create Wall using API (Part 1)
But if you were to create it with Revit API, you would need to open Revit API documentation, then look for the wall class.
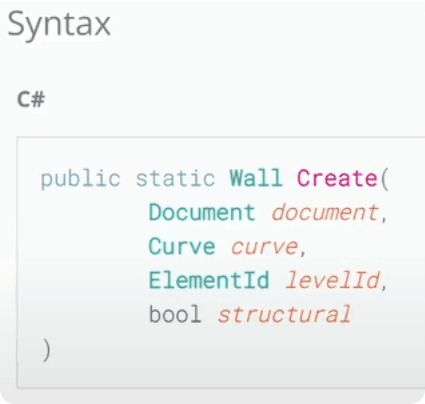
Inside of it, you would need to find one of the methods on how to create it.
Look at all the necessary arguments: document, curve, levelId, and structural.
When you know about all the necessary arguments, you can go back to Revit and actually write a little code snippet.
Keep in mind, this is just an example, you don't have to follow along, but it won't hurt either. You will learn more about pyRevit script anatomy and how to setup your extension in the upcoming lessons.
Let's start with the simple template like this:
In this code Snippet we need to prepare our regular Revit API imports, variables and since we are about to make changes to the project, we also need to use Transaction.
This is like a guarding of your projects so you can only make changes with Revit API intentionally. It's great, because beginners can't break anything in the projects thanks to them!
Then let's prepare all the necessary arguments and use Wall.Create method.
✨ Now this code snippet is ready to test.
And here is how it works.
You click on the button and it will create a wall in the coordinates that we've provided. (0,0,0)
Revit API in Action - Create Many Walls Manually(Part 2)
In this first example Revit API doesn’t seem much easier because we have to do all of this just to create one wall...
But let’s imagine that you want to create an overview of all your wall types in the project, and this would look something like this.
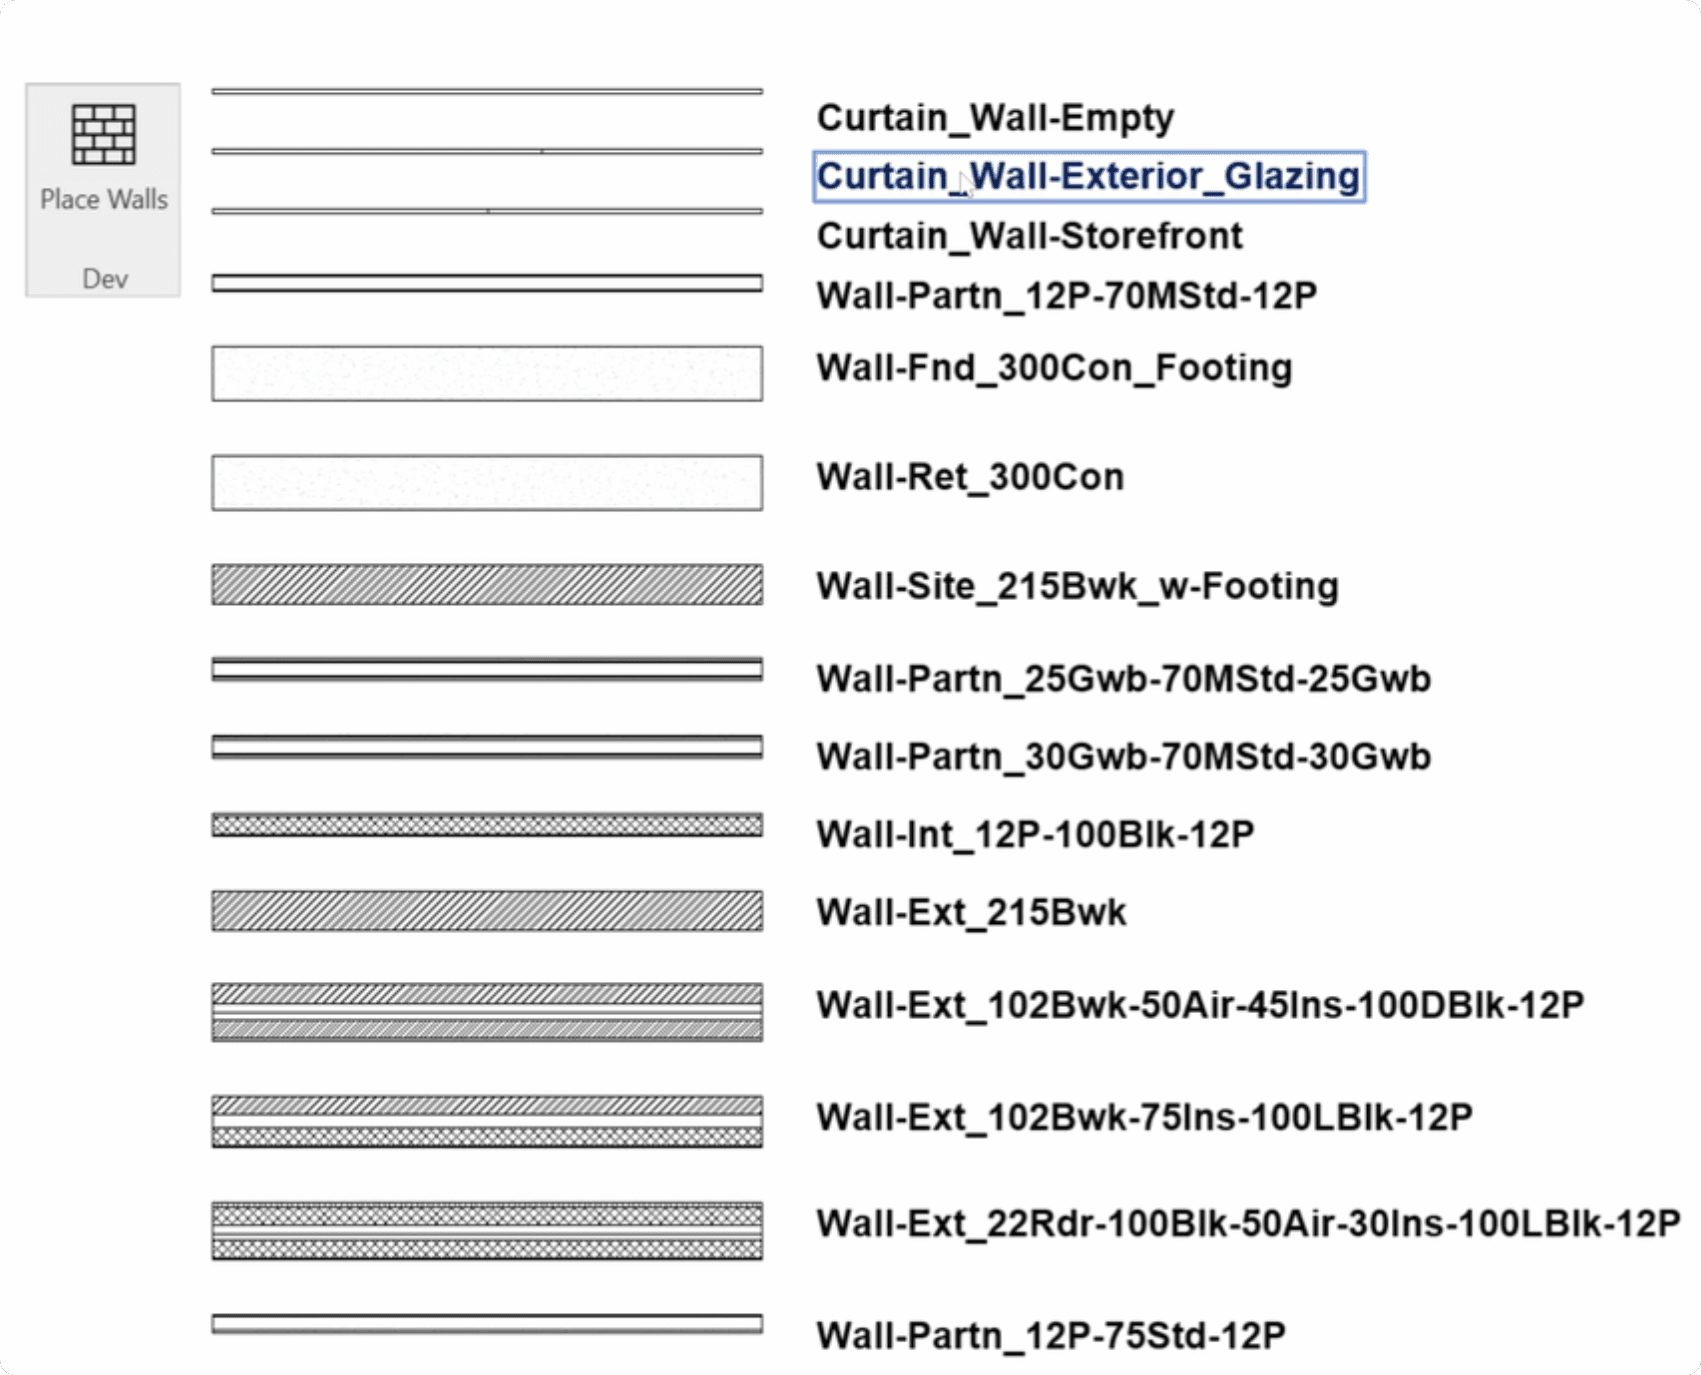
Manually you would need to:
Place many walls
Adjust their types one by one
Adjust their position to look nicer
Place TextNote with exact TypeNames
You can see how really quickly this becomes a very boring and repetitive task, and it also means that it’s prone to human errors.
Let’s be honest, we humans suck at repetitive tasks. This is why Revit API is going to be a far better option for this.
Revit API in Action - Create Many Walls with API(Part 2)
Now, let's adjust the code to create Walls for each WallType with Revit API.
You can watch the video for the deep dive into the code. This is where you will really see the power of Revit API.
You know that manually, this would take ages, and it’s very likely we’re going to make some mistakes in there.
But with this button, we’re going to click, select a point and our script will do the rest.
There is absolutely no space for any errors because we have taken the human error completely out of this equation.
This is the power of Revit API!

You can even achieve similar results with Chat GPT
Yes, there are a few Revit API concepts that you should know, but I will teach you all of them during this course, and it will be very simple to do it on your own once you have the basics.
To be fair, I’m sure that you can create exactly this tool with the help of ChatGPT.
You don’t even need to know Python or Revit API really well—you just need to tell it what you want to do and keep asking until it fixes all the errors. I’m 100% sure that you can achieve exactly the same result if you know how to ask questions.
Why Start with Python and Not C#?
Ease of Learning
Python has clean and intuitive syntax, which makes it easier for beginners to pick up. It's also very forgiving.It's perfect for busy Revit Users, who have no time for CS degree and want to start quick.
Faster Prototyping
Python is a dynamically typed and you can code much quicker and have more readable code, which makes it easier to maintain. And no need to restart your Revit to update something.
Amount of Samples
pyRevit is Open-Source, which means we can read code of every tool including additional extensions like EF-Tools.And not only that, but you can search for pyRevit on GitHub and find 240+ Results.
That's you deciding if you should start with C# or Python.
I recommend you to to get started with Python🐍, because pyRevit is simply the best way to get started. And you will see why in the next lessons.
Does C# hold any advantages over python?
There are certainly some good points for C#.
Firstly, Revit is built on .NET framework like many other windows applications, and C# is specifically made for this framework. So, It's true that C# is more efficient. But when you hear about C# being 100% faster than Python, it often means that you have to wait 2 second instead of a second…
Is that really worth it? Considering you spend more time in development and learning C#.
Why Today is the Best Time to Start Coding?
FREE Resources
Today, you get access to amazing free resources. You can get my eBooks, PyRevit StarterKit, and there are even more tutorials than ever before.
AI Assistants
Secondly, you get access to powerful AI assistants that have reduced the barrier of entry so much that it’s very simple to get started.
More Tutorials
Lastly, you get access to tutorials and resources made by some bearded guy with an EF cap 🧢. Including this awesome tutorial you read right now.

👋 Hi, my name is Erik Frits and I will be your Revit API Instructor.
I'm completely self-taught.
I've started coding more than 5 years ago. and I had to spend countless evenings searching for simple answers on forums and blog posts.
But you don't have to.
I will provide you all the resources, and teach you Revit API Basics one step at the time so you don't feel overwhelmed.
I'm here to help you get started,
because I know how it feel every step of the way!
What's Next?
🥳 Firstly, let me congratulate you for being here.
You are clearly on the right path to Learn Revit API.
This is just the first lesson and we are warming up and getting familiar with Revit API. I will provide you a whole roadmap with all necessary resources and materials that you can follow.
But I also don't want you to spend months watching and reading my tutorials before you take action.
👇So in the next lesson all of you will create your own custom pyRevit Extension.

And it will be super easy, because we will use my EF-pyRevit StarterKit, that will allow you to create it in 2 minutes.
I will need a bit more time in the video so I can explain everything without rushing, but you will not need more than that.
HomeWork
Let me know in the comment on YouTube:
What is Your Biggest Revit API Challenge?
This will help me understand where many of you struggle and create more content to help you learn it quicker.
It's a win-win-win for me, your and the community.
⌨️ Happy Coding!