There is a class in Revit API that can create a simple TaskDialog to display various information to the user, and even collect very simple input such as buttons, and checkbox. Let's look at how to use it.
There is a class in Revit API that can create a simple TaskDialog to display various information to the user, and even collect very simple input such as buttons, and checkbox. Let's look at how to use it.
Summary
Task Dialog in Revit API
Revit API already has a simple form that we can use with TaskDialog Class.
It can be used to display different messages to the user and get a very simple user input, by using Common Buttons, Command Buttons or even Verification Checkbox.
Let's have a look at how to create TaskDialog and override its properties.
Task Dialog Constructor
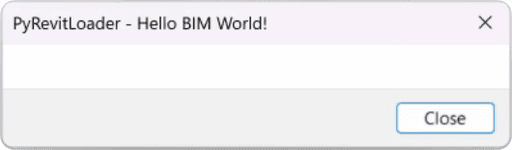
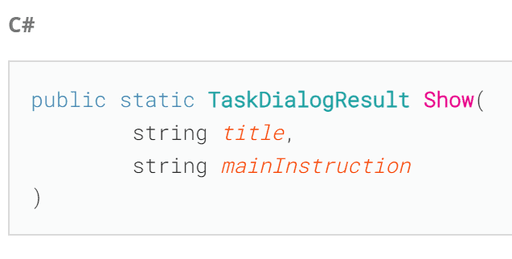
First of all we need to create TaskDialog instance using the constructor. It takes a single argument - title.
from Autodesk.Revit.UI import TaskDialog
task_dialog = TaskDialog('Hello BIM World!')
Once you've created an instance of a TaskDialog, make sure you use Show() method to actually display it to a user.
There are 4 different Show Variations, and we will start using the regular one without any arguments, because we will override different properties manually on the TaskDialog instance.
💡 Other Show methods give you an option to provide different arguments in the Show method, so you can save some space in the code. I will show you an example in the end, but first let's break down the most commonly used properties.
Heading and Message
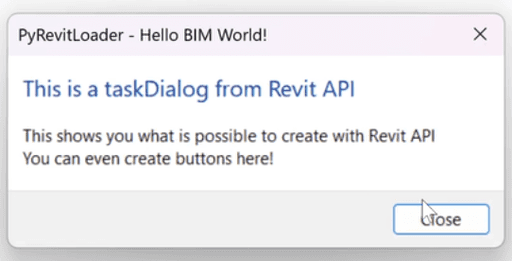
First of all let's add some text. We can use MainInstruction and MainContent for displaying the Heading message and the content itself.
from Autodesk.Revit.UI import TaskDialog
task_dialog = TaskDialog('Hello BIM World!')
task_dialog.MainInstruction = "This is a taskDialog from Revit API"
task_dialog.MainContent = ("This shows you what is possible to create with Revit API\n"
"You can even create buttons here!")
task_dialog.Show()
💡 Make sure you use Show method after you've overridden all the properties.
Common Buttons
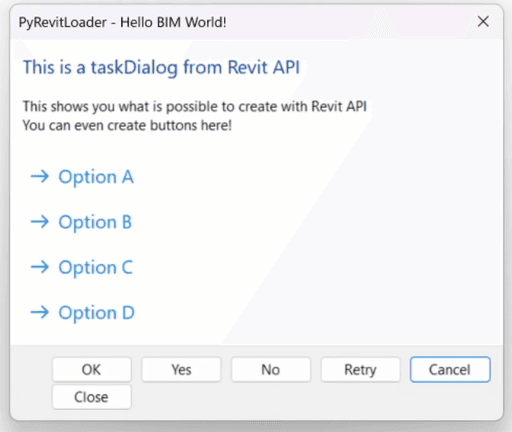
Now Let's add a few buttons to the form. We need to use CommonButtons property and use TaskDialogCommonButtons Enumeration for defining the buttons.
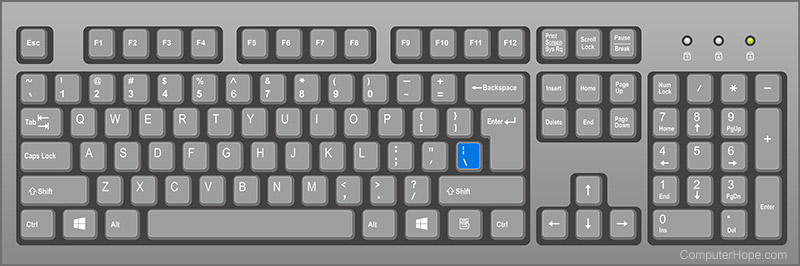
You will also notice that we don't create a list, but use a | ('pipe') symbol between them. This symbol represents OR/Union actions. To make it you have to click on SHIFT + \ (see image below of keyboard key)
from Autodesk.Revit.UI import TaskDialog, TaskDialogResult, TaskDialogCommonButtons
task_dialog = TaskDialog('Hello BIM World!')
task_dialog.MainInstruction = "This is a taskDialog from Revit API"
task_dialog.MainContent = ("This shows you what is possible to create with Revit API\n"
"You can even create buttons here!")
task_dialog.CommonButtons = TaskDialogCommonButtons.Yes | TaskDialogCommonButtons.No | TaskDialogCommonButtons.Cancel | TaskDialogCommonButtons.Retry | TaskDialogCommonButtons.Close | TaskDialogCommonButtons.Ok
task_dialog.DefaultButton = TaskDialogResult.Cancel
result = task_dialog.Show()
💡 Also notice that we've created a result variable to store the result of a task dialog after we call .Show method.
What Button was selected?
We can make conditional statement to find out what button user has selected in the TaskDialog. For that we need to use result variable that we defined, and compare it to TaskDialogResult Enumertaion like this:
if result == TaskDialogResult.Ok:
print('You selected Ok')
if result == TaskDialogResult.Cancel:
print('You selected Cancel')
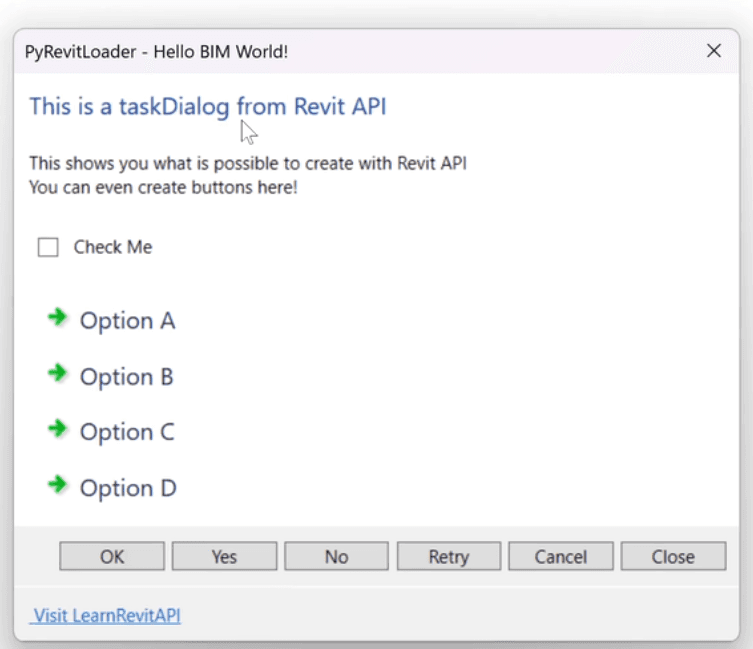
from Autodesk.Revit.UI import TaskDialog, TaskDialogCommandLinkId, TaskDialogResult
task_dialog = TaskDialog('Hello BIM World!')
task_dialog.MainInstruction = "This is a taskDialog from Revit API"
task_dialog.MainContent = ("This shows you what is possible to create with Revit API\n"
"You can even create buttons here!")
task_dialog.AddCommandLink(TaskDialogCommandLinkId.CommandLink1, 'Option A')
task_dialog.AddCommandLink(TaskDialogCommandLinkId.CommandLink2, 'Option B')
task_dialog.AddCommandLink(TaskDialogCommandLinkId.CommandLink3, 'Option C')
task_dialog.AddCommandLink(TaskDialogCommandLinkId.CommandLink4, 'Option D')
result = task_dialog.Show()
To read what button was selected, we can use the same logic as for CommonButtons. Just make sure you look at TaskDialogResult.CommandLink1, 2,3,4
if result == TaskDialogResult.CommandLink1:
print('You selected Option A')
if result == TaskDialogResult.CommandLink2:
print('You selected Option B')
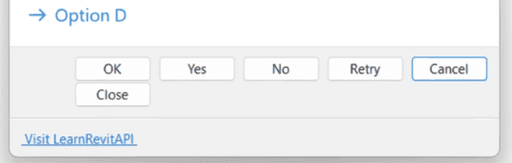
Footer
TaskDialog also has an option to create a footer.
We can also provide an HTML <a> tag, so it's actually a link.
task_dialog.FooterText = "<a href=\"https://learnrevitapi.com\"> Visit LearnRevitAPI </a>"
CheckBoxes
In case you would like to add a checkbox in your TaskDialog you have 2 options:
💡 Make sure you don't use both at the same time, as it will trigger an error!
task_dialog.VerificationText = 'Verify Me'
To read the result of a checkbox we need to use appropriate method such as:
print(task_dialog.WasVerificationChecked())
Final Code
Lastly, let's put all of it together into a single code snippet:
__title__ = "8.05 - RevitAPI Forms"
__doc__ = """Date = 04.04.2024
_____________________________________________________________________
Description:
Overview of RPW Forms
https://revitpythonwrapper.readthedocs.io/en/latest/ui/forms.html
_____________________________________________________________________
Author: Erik Frits"""
from Autodesk.Revit.DB import *
uidoc = __revit__.ActiveUIDocument
doc = __revit__.ActiveUIDocument.Document
from Autodesk.Revit.UI import TaskDialog, TaskDialogCommonButtons,TaskDialogResult,TaskDialogCommandLinkId
task_dialog = TaskDialog('Hello BIM World!')
task_dialog.MainInstruction = "This is a taskDialog from Revit API"
task_dialog.MainContent = ("This shows you what is possible to create with Revit API\n"
"You can even create buttons here!")
task_dialog.FooterText = "<a href=\"https://learnrevitapi.com\"> Visit LearnRevitAPI </a>"
task_dialog.CommonButtons = TaskDialogCommonButtons.Yes | TaskDialogCommonButtons.No | TaskDialogCommonButtons.Cancel | TaskDialogCommonButtons.Retry | TaskDialogCommonButtons.Close | TaskDialogCommonButtons.Ok
task_dialog.DefaultButton = TaskDialogResult.Cancel
task_dialog.AddCommandLink(TaskDialogCommandLinkId.CommandLink1, 'Option A')
task_dialog.AddCommandLink(TaskDialogCommandLinkId.CommandLink2, 'Option B')
task_dialog.AddCommandLink(TaskDialogCommandLinkId.CommandLink3, 'Option C')
task_dialog.AddCommandLink(TaskDialogCommandLinkId.CommandLink4, 'Option D')
task_dialog.VerificationText = 'Verify Me'
result = task_dialog.Show()
print(task_dialog.WasVerificationChecked())
What about other constructors?
Well, let's look at them.
Overall allow you to provide different arguments instead of overriding properties.
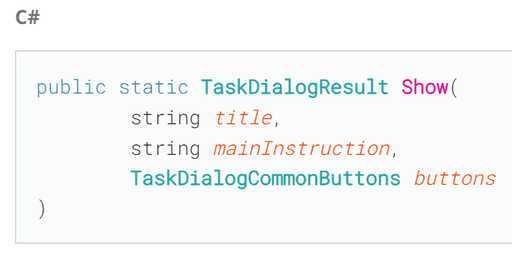
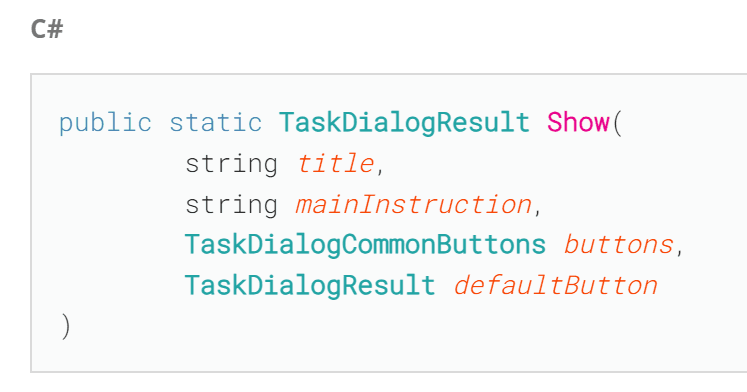
There are 3 more constructors, and the difference is that, they all take 1 more parameter than the previous one. So we will only look at the last one with the most parameters, but you can obviously provide less arguments if you want to.
Let's break it down. We can provide the following 4 arguments:
title
maininstruction
buttons
defaultButton
⌨️ And here is a code example:
from Autodesk.Revit.UI import *
title = "Hello BIM World"
main_instruction = "This is the main instruction of the dialog"
buttons = TaskDialogCommonButtons.Ok | TaskDialogCommonButtons.Cancel
dialog_result = TaskDialog.Show(title, main_instruction, buttons)
That would be similar to overriding the properties, but instead you set these values by using Show method.