
Resources
Summary
What are Transactions?
Transactions are used to protect our projects from unwanted changes. So, whenever we want to make changes, we need to Start and Commit a Transaction.
This way, Revit knows that we are changing something on purpose. It's also great for beginners, as it ensures that you can't possibly change anything in your project unless you use a transaction, making exploring the Revit API much safer for you and your projects.
There are 3 types of transactions that you can use in the Revit API:
First of all, let's start with regular Transaction because you will use it 95% of the time. And we will look into SubTransaction and TransactionGroup in another video.
Revit API Docs - Transaction
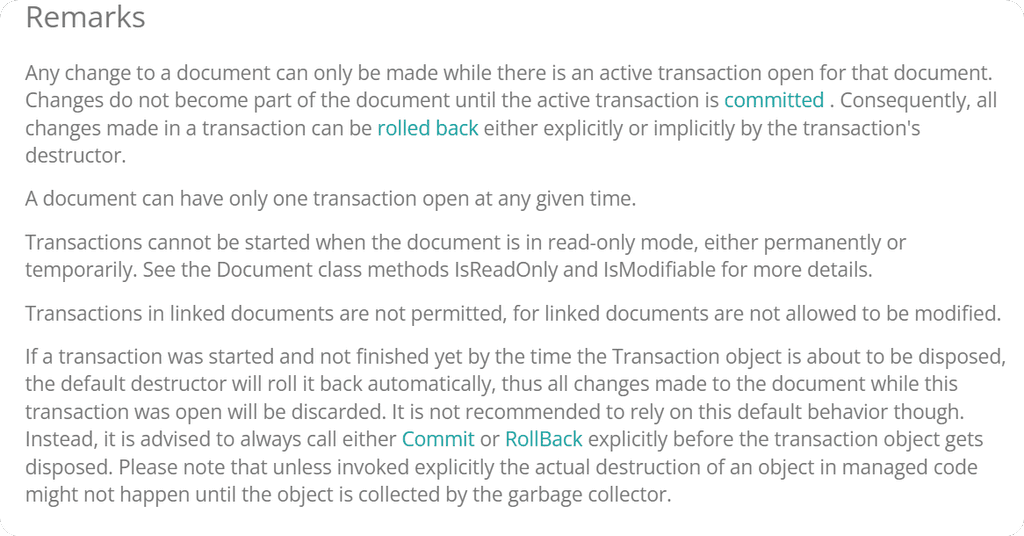
Let's read some documentation about Tranasctions.
It's worth reading Remarks about Transaction class, because it has a few good points there.
Transaction: Constructor
First of all we need to create an instance of a Transaction. Let's have a look at the constructor method.
We need to provide Document where we want to make any changes and then name of the Transaction (this name will be shown in the Undo menu in Revit).
Transaction: Methods
Then we need to Start() and Commit() our transaction. And all the changes have to be between these 2 statements.
We also have an option to .Rollback() transaction, so none of the changes are applied to the project. That might be useful if you need to check something during your changes to decide if you want to keep them.
💡 Rollback also have an option to provide FailureHandlingOptions as argument to handle warnings, but I will cover it in a separate video!
Transaction in Action
You've already seen me use Transactions in previous lessons, but let's look at it once more. I will add try/except statements and also an option to RollBack. You can simplify it with just Start and Commit for most tools!
There are 2 ways to use Transaction, so you can choose whatever you like more.
Transaction in custom context manager
We can create a context manager to handle 'Start', 'Commit', and 'Rollback' operations, making our code more Pythonic.
A context manager is a concept that enables us to perform specific actions both before and after our main action. You've likely encountered context managers before, like when using 'with open(path) as file:'
💡 There is a separate lesson for that!
HomeWork
✅ We have already used Transactions in previous videos, so I think we can skip HomeWork.