Resources
Summary
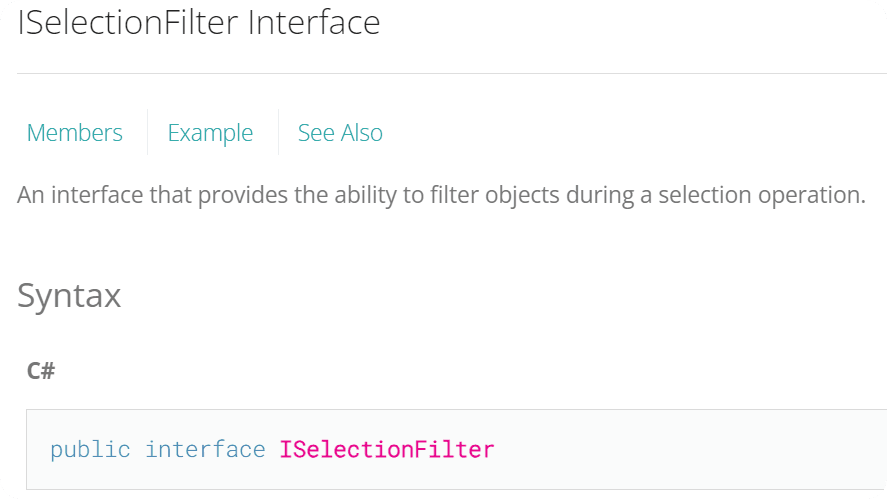
Revit API Docs - ISelectionFilter
Let's start with Revit API Documentation.
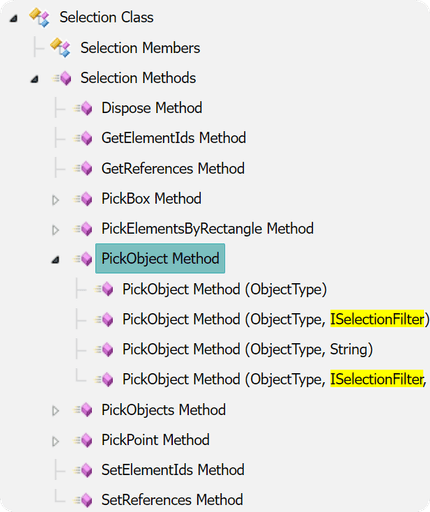
As you remember, when we explored methods in Selection Class, we saw that some methods can take ISelectionFilter as an argument.
💡 It's not only in PickObject, but in all other element Selection methods as well.
ISelectionFilter - is an Interface.
If we want to use it, we need to create a class and inherit all functionality of the interface.
Then we can override pre-written methods with our custom logic so it works correctly.
💡An Interface is like a blueprint for a class, specifying mandatory functionalities without any implementation. By implementing an interface, a class gains certain functionality, while still having the flexibility to customize these functions to suit its needs.
In simple terms - We need to inherit Interface when we create our own class. And then we need to override methods that are made in the interface.
Pre-Written Methods
If you are going to have a look in ISelectionFilter methods, you will see that there are 2 methods, that we can override.
ISelectionFilter C# Example
Luckily for us, there is an example of how to use ISelectionFilter in the Class description.
You can see that there is a function GetManyRefByRectangle, that shows you how to use custom MassSelectionFIlter.
And the MassSelectionFIlter Class Itself.
💡 Don't worry, we are going to translate it to python and simplify!
Simplify Class
Let's look at the python translation that we made and simplify it.
I will start with class.
You can see that I made a few changes as well:
Renamed Class to CustomFilter
Removed AllowReference method
Used Category.BuiltInCategory instead of Category.Name
Removed return False, because there are no conditions
Why we override methods?
Interfaces are like blueprints for classes.
In reality they have a lot more functionality hidden from us, and to access this functionality we need to override pre-written methods.
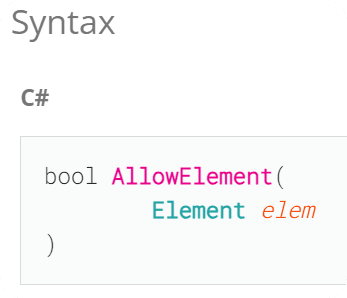
In our case, we've overridden AllowElement method.
We have to use the same argument types as provided in the documentation. In our case elem argument represents an Element type.
This argument element, will represent all elements that might be allowed for selection. And the goal of the method is to make a check to return True/False.

💡Returning False is not necessary, since by default it will be None.
How to use it?
To use the filter, we need to create an instance of the class that we crated and provide it to methods that take ISelectionFilter as an argument.
💡Since we don't have def __init__(self) method, it doesn't have any arguments, so we can simply call CustomFilter() to create an instance of a class.
Debugging
When you will be testing your CustomFilter, make sure you haven't misspelled anything!
As I showed in the video, when we have a code issue, you won't even get any messages, it will just return False, and therefore disallow you selecting any elements.
Create Custom ISelectionFilter Classes
Let's create something useful using ISelectionFilter.
I will create 2 classes that can take arguments.
First one will take list of allowed Types, so we can specify what types of elements we want to allow selecting
Second one will take a list of allowed BuiltInCategories, with the same logic.
To use these classes, we simply create instances of these classes.
Notice that we have create __init__ method, where we specified an argument allowed_type/allowed_categories. So make sure you provide the right types of elements in the list.
💡 You can create separate variable for a list of types/categories.
Add to lib
I am sure you will find a lot of use-cases for these classes.
💡 Make sure you add them to you lib folder so you can import these classes whenever you want to use them.
I will place them in lib/Snippets/_selection.py
Bonus Example
Lastly, Let me show you a more advanced example where we check multiple properties of our elements.
This snippet will only allow Walls with a height between 1 and 2 meters, and there should be a keyword 'Beton' in the TypeName.
💡 I have read parameters in that example, and you will learn more about Parameters in the next module!
💡 Revit 2022 or earlier Exception
Before Revit 2023, BuiltInCategory is not accessible property for some reason. We can see it in Revit Lookup, but we can't get it with this
So as a workaround we can compare ElementIds of element's Category and our desired BuiltInCategory.
Here is the simplified Snippet
🤐 Sorry for not mentioning this during the video.
HomeWork
ISelectionFilter might look confusing until you start using it yourself. So I want you to practice it.
✅ Try out the Bonus Snippet and feel free to modify it.
✅ Create ISelectionFilter with your rules (Read Properties for checks)
e.g. Try to create ISelectionFilter for Rooms and make conditional statement using its Area property. By now you know how to do that!
😉 Don't forget to share your custom ISelectionFilter in Discord.
⌨️ Happy Coding!


