Resources
Summary
Get Element
Let's copy a few lines of code from the previous lesson, so we can pick our elements to read from.
We will also make sure that we only work with rooms, and I will make a simple if statement checking type() of selected elements.
👀 By now we can pick an element, and we know that it will either be a Room or script execution will stop.
Read Room's Properties
Now let's look inside of selected Room using Revit Lookup plugin that we installed in the first module.

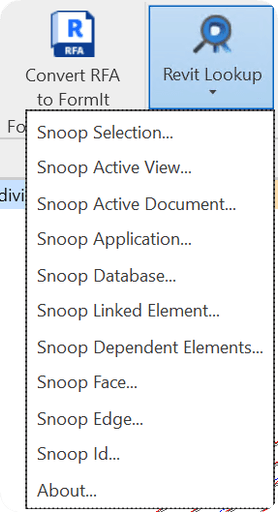
When you have a few elements selected you can go to Revit Lookup plugin and click on Snoop Selection.
There are also other option to Snoop Active View, Document, Application, Database …
But Snoop Selection is by far the most used one
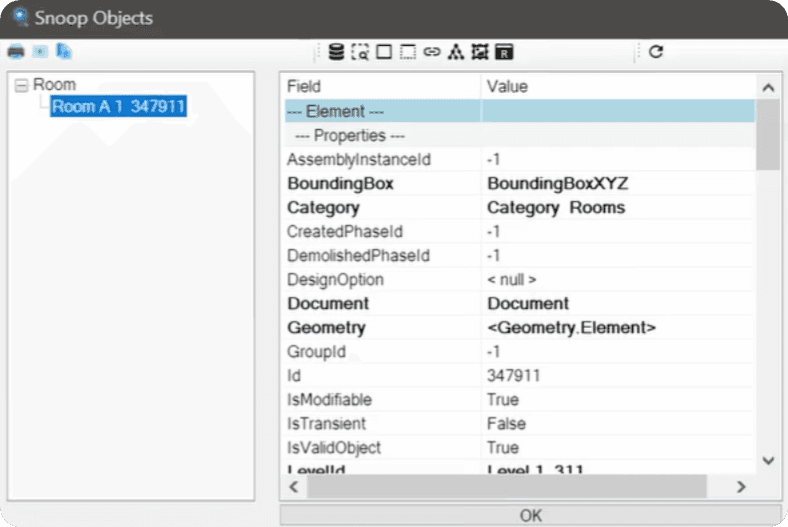
Once you click on Snoop Selection you will see this menu.
On the left side you have your selected elements sorted by their Classes, and on the right side you get to see element's properties and methods.
💡Regular text means that property or method returns you a value
💡 Bold text means it returns you an Element or List of Elements that you can look even further. When you click no them, it will open separate window with returned Element/s.
Read Element's Properties
Reading properties is very simple once you have your element selected.
We can see all property and method names, and to use properties we just need to write their names after an instance of our element. If you want to use methods then we need to use their name with parenthesis (). Inside we need to provide arguments, that we can find in Revit API Docs.
💡 Be aware that Revit API uses feet as internal units when we get Numeric values that have units associated with them.
Some properties can't be accessed
There are a few properties that even though we can see them in Revit Lookup, we can't access them like a property with our code. Usually it's going to be a .Name property of ElementTypes and Rooms.
To get it we can either use special class method, or by reading parameter that holds this value.
👇Here is an example for Rooms.
💡 We will cover Parameters in its own module soon!
How to Convert Units to Metric?
As I've mentioned, Numeric values that have associated units, use feet internally.
Many of you will be using metric systems when we work in Revit, and therefore we will often need to convert internal feet units into metric units.
There is a class in Revit API called - UnitUtils Class.
It has different methods for converting units. We will use the following ones:
ConvertFromInternalUnits
ConvertToInternalUnits
💡 These methods had updates in Revit API 2022, now there are seperate class for defining Revit API Unit Types. We will tackle it in our function.
Convert Internal Units Function
Since we will need to convert units many times when we work with Revit API, it makes sense to create a reusable function and place it in our lib folder.
💡 Remember:
"Good Programmers Code, But Great Programmers Reuse Code!"
👀 Here is the function that I placed in my lib/Snippets/_convert.py module.
This function takes in account differences in Revit API versions and provides you an option to select between different units that should be translated To or From InternalUnits.
💡 You can add even more units if necessary.
Simpler Convert Function
It has been a while since I've made this video and I've realized that this function is a bit an overkill if you are not using Revit 2020 anymore...
So we can simplify it like this without even making it a function.
Just choose your units, and decide if you need to convert FromInternal or ToInternal.
Read Room's Methods
Lastly, let me show you how to use methods. We will look into .GetBoundarySegments().
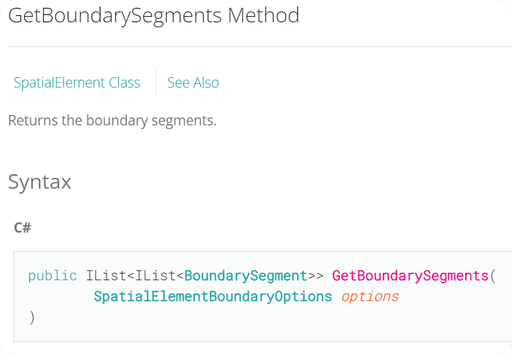
Since Method often require us to provide arguments, it's good to check this method inside of Revit API Docs. But you could also try to run it, and you will get an error saying that you don't have enough arguments provided.
Once you look at this method in Revit API, you will see that it takes 1 argument - SpatialElementBoundaryOptions.
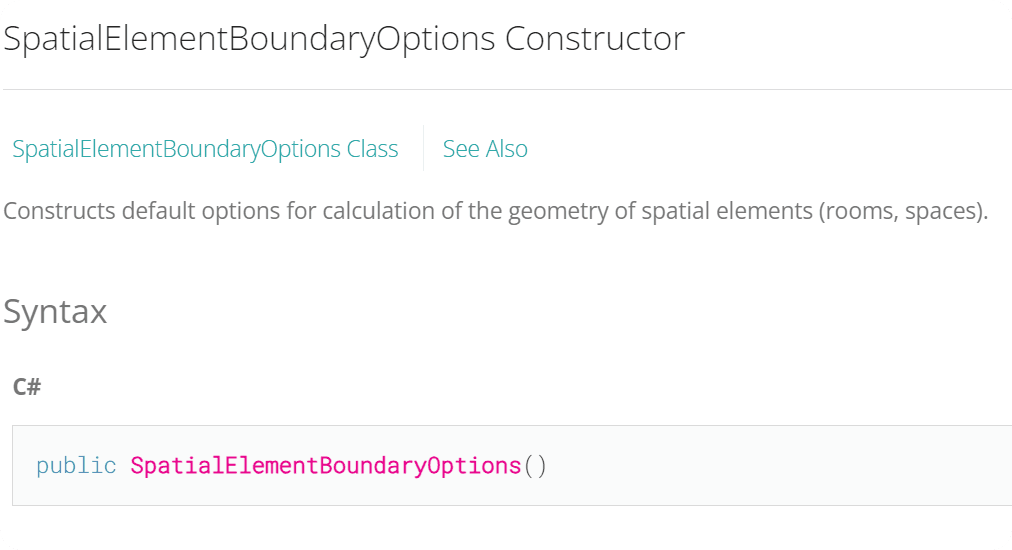
We can explore this class to learn how to create options, and usually in Revit API we can easily create default set of options with a constructor that takes no arguments.
Here is the constructor method of this Class. It takes 0 arguments, and after we create it, we can modify options by using its Properties or Methods.
But we won't need to do that for our use-case.
👇Here is the Snippet to create Options and get Room's BoundarySegments.
HomeWork
Choose Element with another category, and try to read as many properties as you can. Also feel free to share with others so you can see more results together.
✅ Select Element with Different Category
✅ Read Properties and Methods
⌨️ Happy Coding!


