
Resources
Summary
Why we need Revit API Documentation?
💡 It's important to understand how to navigate and use Revit API Documentation.
Whenever we write code for Revit API, we need to work closely with documentation. We can't possible remember all classes, methods and their arguments, so it's good to know how to find and use them.
Where to find Revit API Docs?
There are 2 options to see Revit API Documentation.
RevitAPI.chm
We could use offline RevitAPI.chm files (Download here)
💡.chm file format means - Windows Help Files.
But to be honest, I hate using them, so I don't.
You are welcome to try them, but I would recommend an online version of the documentation.
Online RevitAPI Docs
There is a website developed by Gui Tallarico, and it's by far the best way to access Revit API Documentation.
It has good navigation and we will be using it through out the whole course!
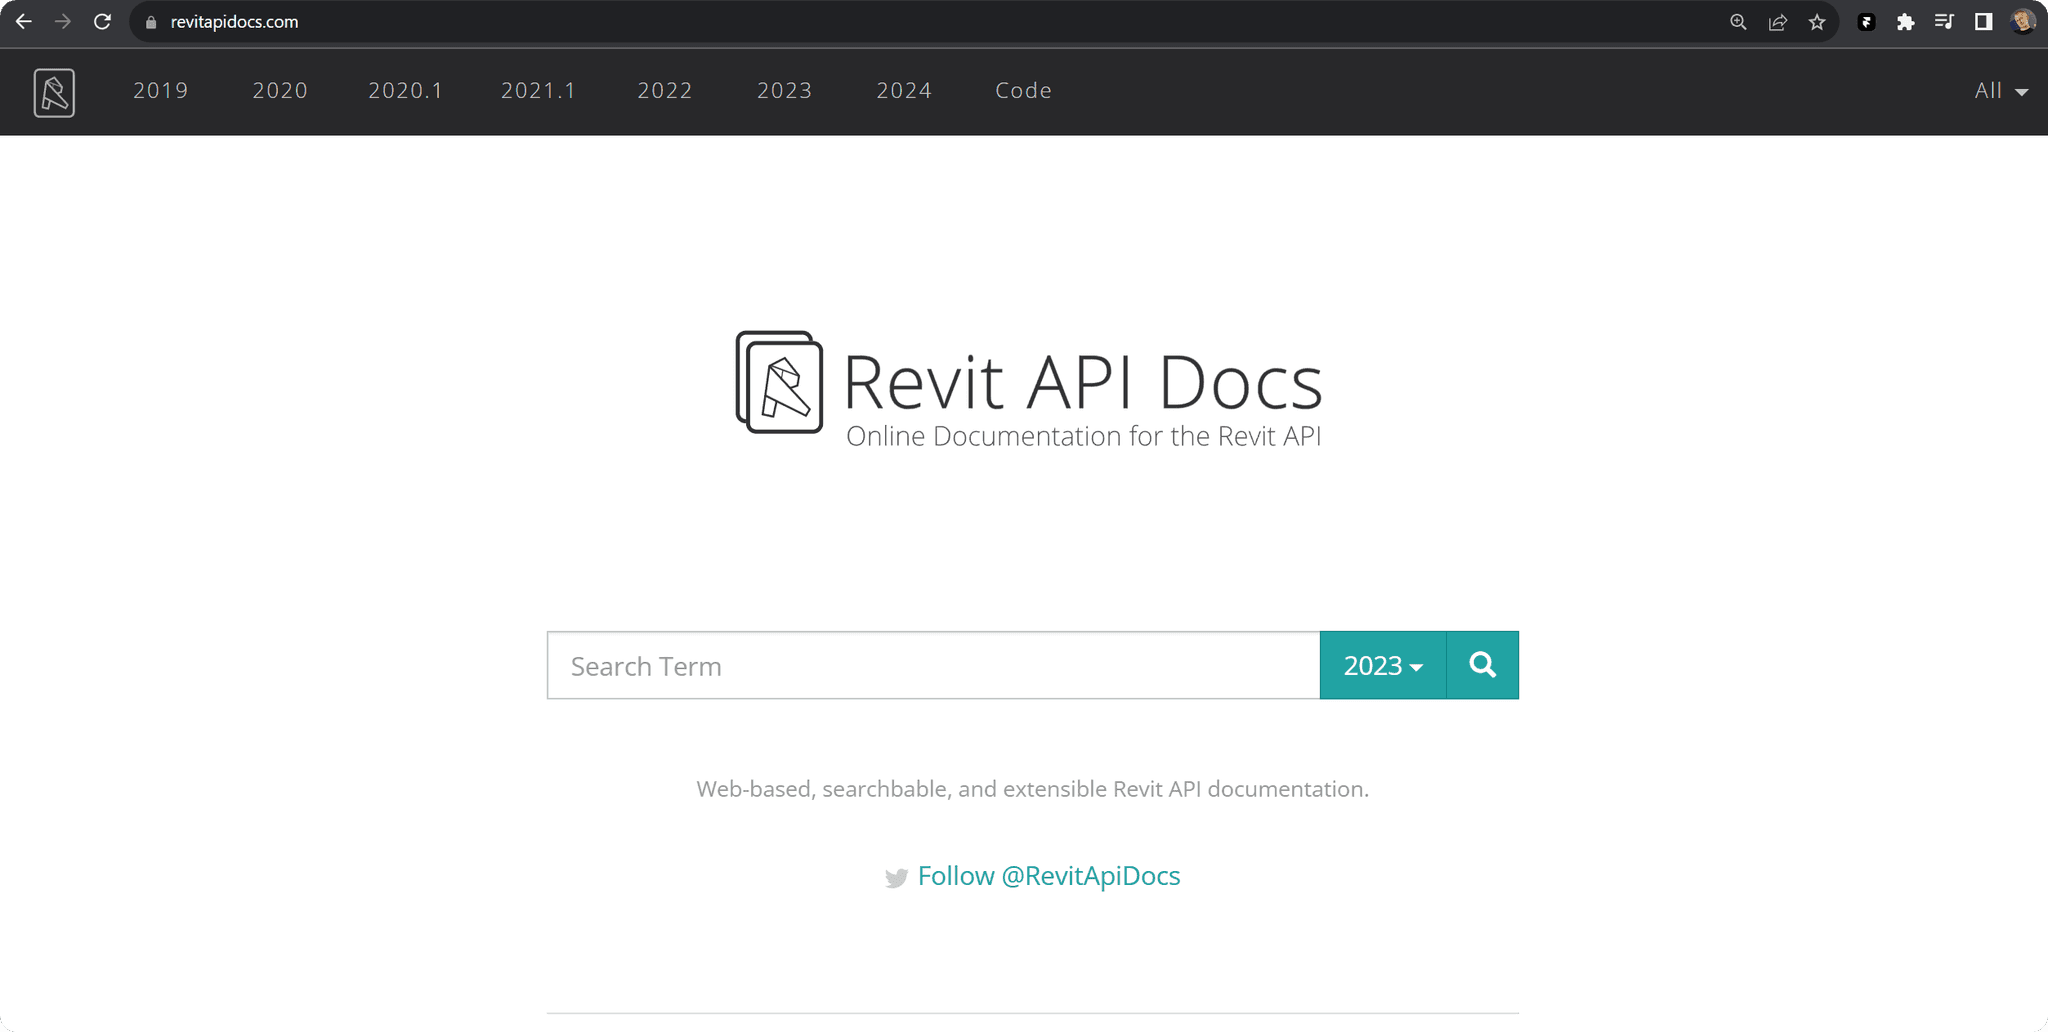
Revit API Version
Each year Revit gets a set of new or updated features and so does Revit API.
Once you are on the website, we need to choose which Revit API version we want to choose to explore. I will choose 2023.

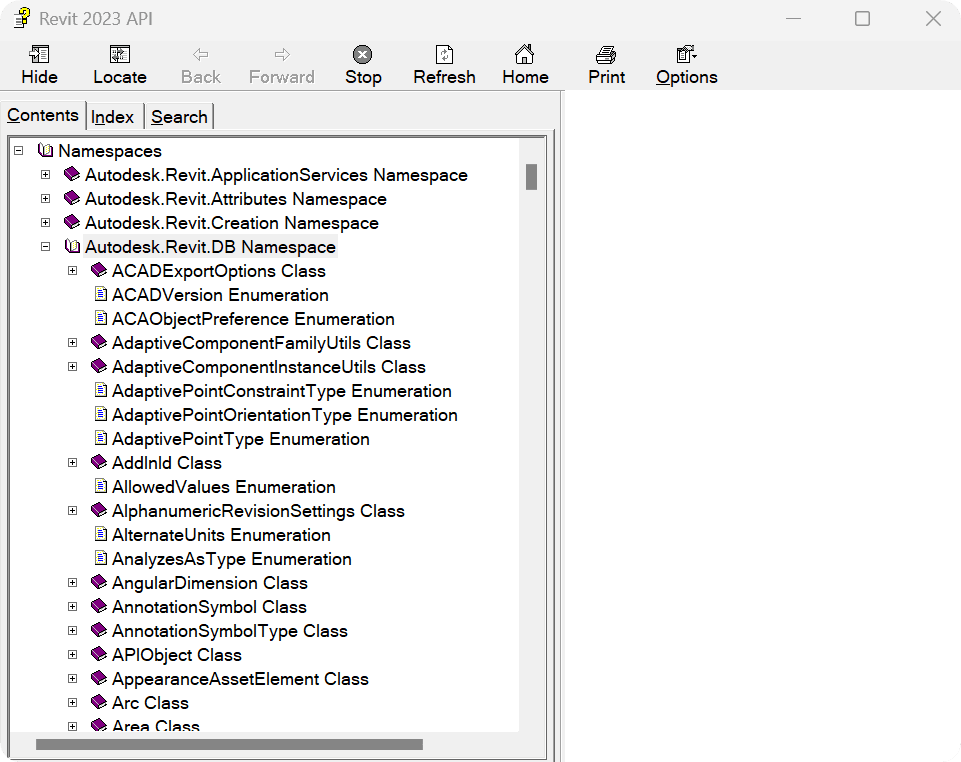
Namespaces
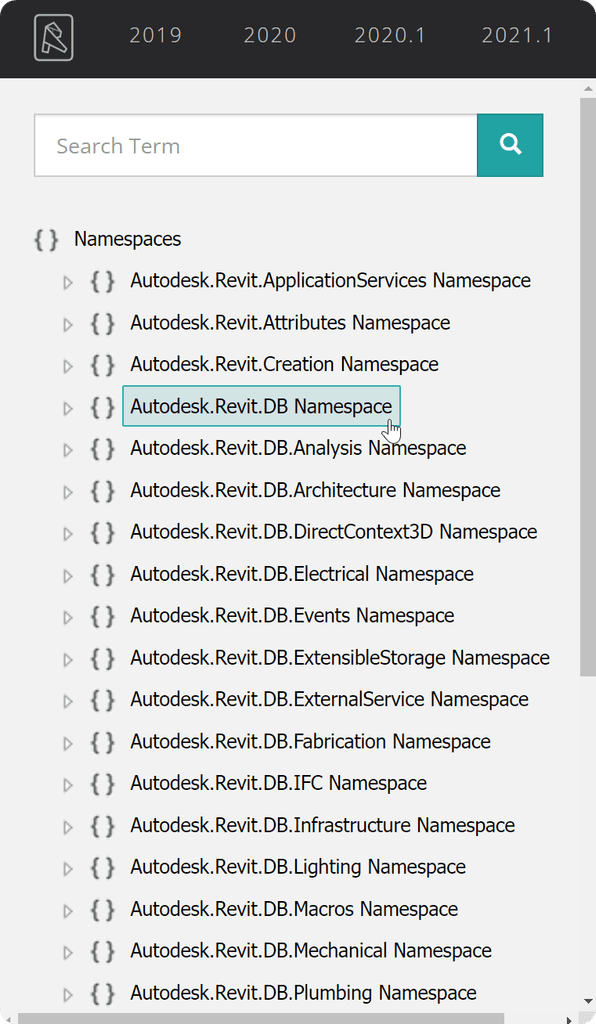
Once you select Revit version, you will see all available Namespaces in the sidebar.
Namespace is like a packages in python from where we can import different Revit API Classes.
You might have noticed a familiar Autodesk.Revit.DB Namespace. This is from where we import majority of classes that we need for Revit API.
If we click on that Namespace it will open as a pulldown menu with all the classes inside of it.
💡There will be a lot of classes, but don't worry, we won't need all of them!

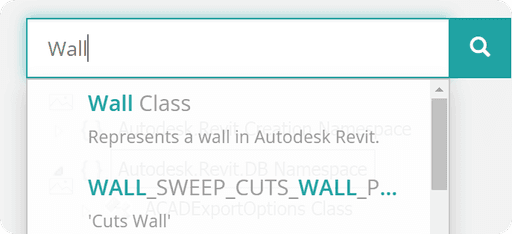
You could scroll through Namespaces but usually we use search bar on the top to look for necessary classes.
💡It provides autocomplete, so it's really useful.
Explore Classes
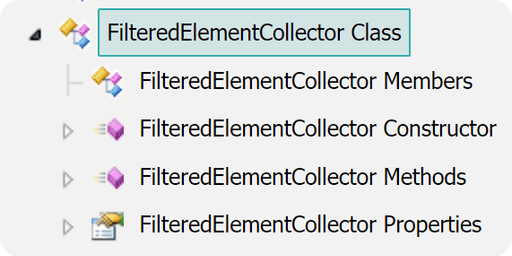
Same as namespaces we can click on any class or enumeration and it will open up as a pulldown menu.
Usually you will see Members, Methods and Properties and sometimes Constructors if a class has them.
And each one of them will also open up as a pulldown menu displaying all members inside of them.
At the same time on the right you will see a lot of additional information about selected element. It works for everything - Namespace, Class, Members, Constructor, Methods…
If it's an element, you will be able to learn more about it. If you click on properties you will see a list of all available properties.
💡When you select Properties or Methods you will see only native class members in the sidebar. But on the right you will see both native + inherited methods (More about it in a moment).
Let me explain the difference in all these options.
Members
Members will display you everything inside of selected Class.
It's useful when you want to see everything in a single page and explore what's possible.
💡 I usually go to members when I need to search through available properties, methods, constructors… I would click CTRL+F to activate search on web, and then type something I would expect to see in the description or member's names.
Properties & Methods
You can explore all available properties or methods of selected Class.
💡 In the side bar you only see Native, while on the right you see native + inherited.
Constructors
Constructors are used to create an instance of such class.
For example when we will work with FilteredElementCollector, we need to create an instance of such class that points to a specific project. And to learn how they are created, we would look in Constructors of this class.
Enumerations
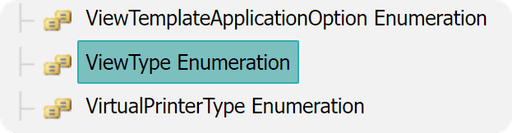
While exploring Revit API Docs you will also encounter Enumerations. They are objects that contain all allowed values inside of them.
Think of ViewType Enumeration.
In Revit we can have only certain types of views: FloorPlan, CeilingPlan, Sections…
And we could use it to check ViewType of other views. Views have a property that would return its ViewType class. And we can compare if it's the one that we wanted like this:
When you are going to look inside of classes you will find a lot of useful information about them and how they are used. Let's break down Wall.Create method as an example.
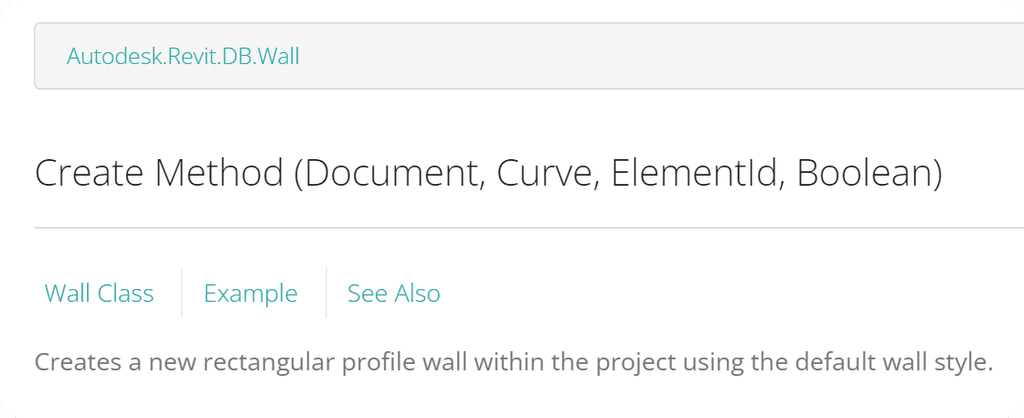
On the top you will be able to learn from what class does this method come from? (Autodesk.Revit.DB.Wall)
Then you get name of the method and types of each arguments.
And below you will find text description of the class, which is usually describes it well.
Syntax
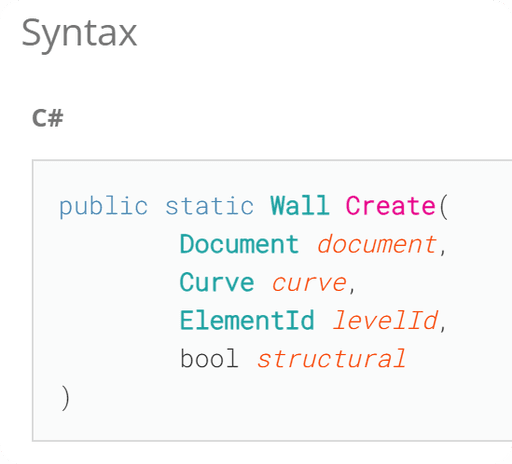
After that you will see Syntax examples in C# and a few other languages. This will show you how this class is being used.
👀 You will learn in the next lessons how to translate it properly.
But for now all you have to know is that:
1. It shows you that this method returns Wall type.
2. Create method takes 4 arguments written in orange colours.
3. Each of the arguments has its required Type on left.
Parameters details
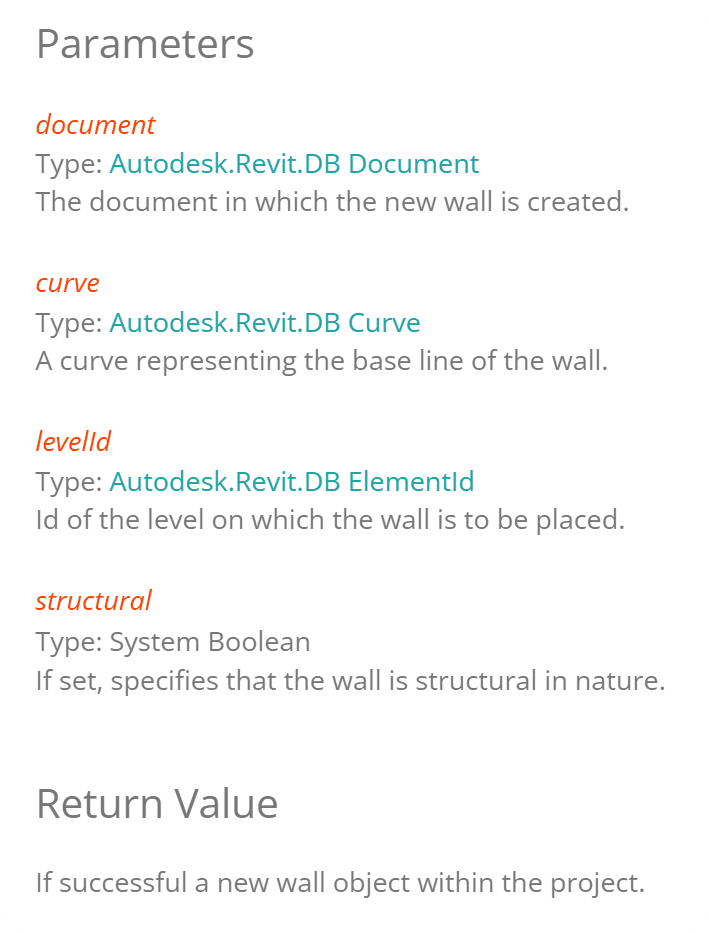
Next you will find more description about each of the parameters and returned value. In this case it's quite self-explanatory, but there are instances where it's not so obvious.
Code Example
Many times, if you are lucky, you will find an actual example of how the class or method is being used. This is the real gem in exploring Revit API Docs.
For Example when we look at Wall.Create method there will be examples in C# and VB.NET.
👇Here is python translation:
💡 Python is not officially supported by Autodesk, but it doesn't mean python is lacking any functionality! Python is Great.
It's also not so hard to translate C# into Python, you just need to understand python syntax good enough to know what shouldn't be there.
💡 Also to save yourself time, ask Chat GPT or similar services to translate C# into python and in majority cases it will give you a translation without errors. But knowing Chat GPT sometimes we will need to correct its mistakes, which wouldn't be so hard!
👀 You will learn more about Translating C# into Python in the next 2 lessons.
Are all classes easy to find?
There are many classes which are obvious and easy to find like: Wall, Floor, Ceiling, Room… But, there are also elements which don't have such obvious class.
For example if you would try to look for Window or Door class you will fail. And it's because all loadable families have a class of FamilyInstance.
How to Find The Right Classes?
We can use Revit Lookup to look inside our elements to understand what is their class. It's by far the easiest way.

You can see on the left that I have 2 elements selected with type names: Door_B, Window_A.
And on top you can see that both of these elements are FamilyInstance class.
You can also notice that on the right there is a property (3rd from top) called Category, and it says <Category Doors>.
💡 Category is just a property of elements. But class is more about functionality that this element should have when we code.
Class Inheritance.
Class Inheritance is a concept of OOP that allows you to inherit attributes and behavior from a parent class. For example:
In Revit API there are many properties that will be used by nearly all the classes, such as ElementId, Category, BoundingBox…
Instead of defining these propeties in each class individually, Autodesk has created abstract Element Class and then all other classes are based on that class.
That means all new classes will have all properties and methods of Element Class and then they added individual properties that a needed for other classes.
💡 If that's something new for you, I highly recommend you to explore basics of OOP, especially inheritance. This will make you understand how Revit API classes are made in a better way. It might solve a few confusions in the future.
We can find out about inherited members both in Revit API Docs and Revit Lookup.
Revit Docs - Inheritance
I already mentioned that if you look in the sidebar at methods or properties, you will only see native members. But if you look on the right you will see native + all inherited properties and methods.
And when you look at the description, you will notice (Inherited from …) That's how you know where it comes from.

Revit Lookup - Inheritance
In Revit Lookup you will notice that there is a blue horizontal line with the name of a class and then related methods and properties of this class.
💡 This is useful to know because if you are looking for a Wall related property, you shouldn't look under Element class members. You should scroll down to Wall class and look in its methods.


💡 "Documentation is the foundation upon which great software is built."
HomeWork
🔎 Try exploring Revit API Docs on your own. Try to open a few classes that you might be working with or find these ones:
experiment with others too
💡 It's okay if it's still looks a bit confusing. We will work with Revit API Docs for the whole course, so you will get used to it!
⌨️ Happy Coding!