Learn about the most used Revit Add-In for Developers
Understand how to use it
And how to get the most out of it
Are you Ready?
Look Inside Revit Elements
Alright, it's time to dive deeper and look inside elements.
In this module I'll show you how to use RevitLookup plugin to get the most out of it. You're going to learn:
How to look inside elements
How to read properties and methods
How to get additional information from RVT Docs
And how to apply all of that to code
This is an important step in creating your add-ins, so you don't waste your time and actually begin coding once you understand where to get all the information necessary for your script.
Ready to dive in?
What is Revit Lookup?
If you're not familiar yet, Revit Lookup is a plugin that lets you look specifically inside the elements and explore all available properties and methods and most importantly, the values they hold.
If you haven't installed it yet, I strongly recommend you do, because this is the most used plugin for any Revit API developer.
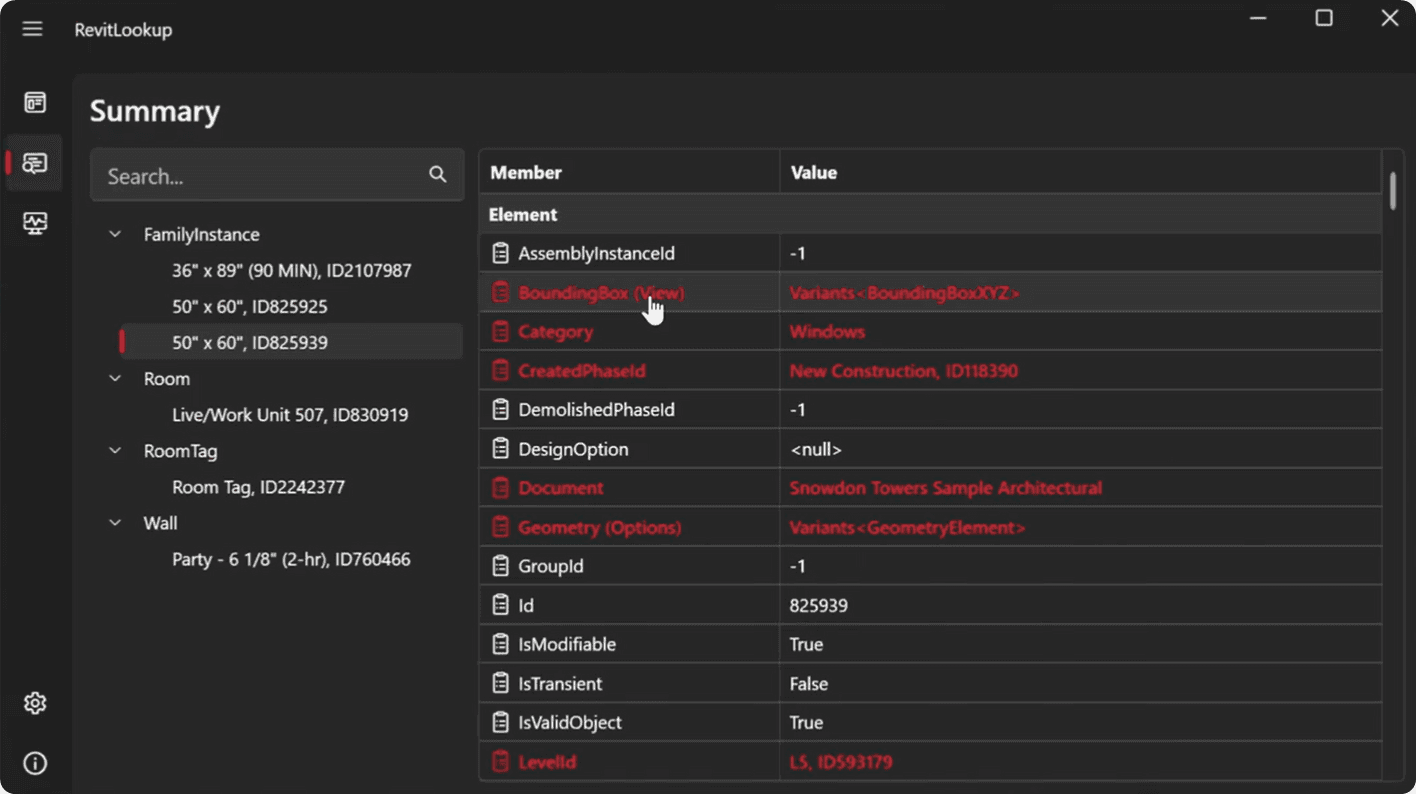
Here is how it looks when you snoop elements:
Installing Revit Lookup
In case you haven't installed Revit Lookup yet, I recommend that you do it right away.
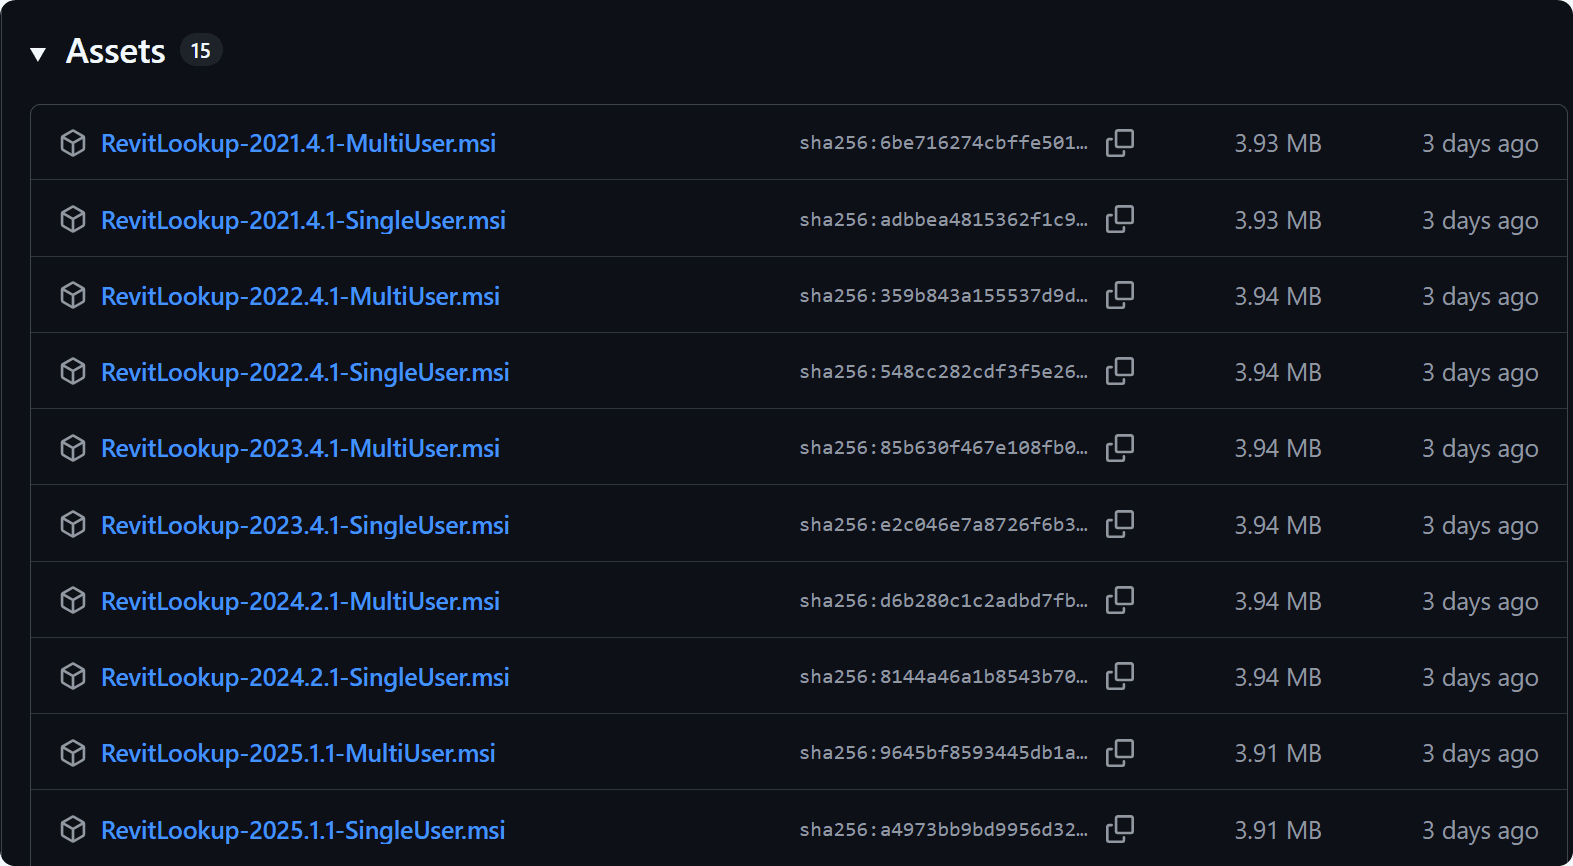
Go to RevitLookup GitHub repository, scroll down to Assets section and download the latest release for your Revit version.
Once you download it, run the installer and install as usual. There's nothing special about it.
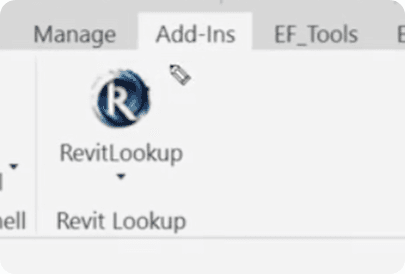
After that, open your Revit project, and in the Add-Ins tab, you'll see the Revit Lookup icon. You can also drag it off the toolbar on the screen because we'll use it a lot during this lesson.
Getting Started with Revit Lookup
Now we can explore Revit Lookup.
Firstly, select a few elements in Revit project, for example Wall, Tag, Room, Window, Door… It can be anything.
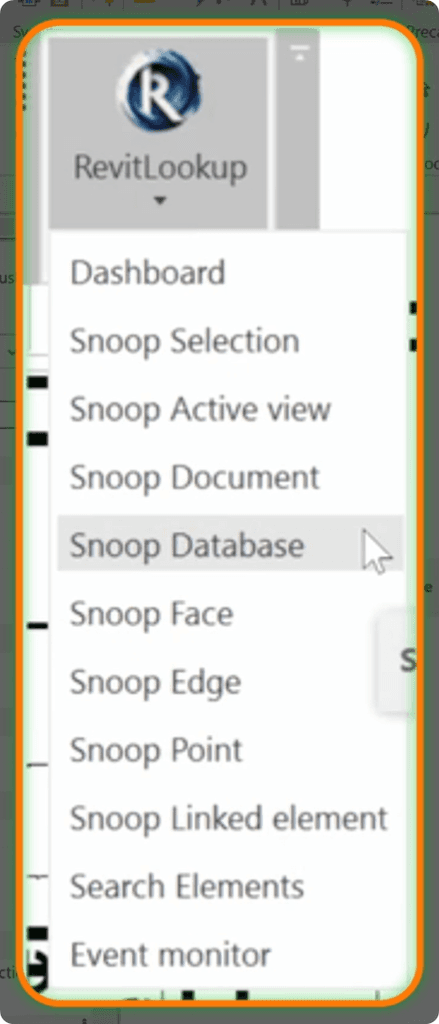
Then, while everything is selected, go to RevitLookup plugin and select Snoop Selection. This will open a menu to explore selected elements.
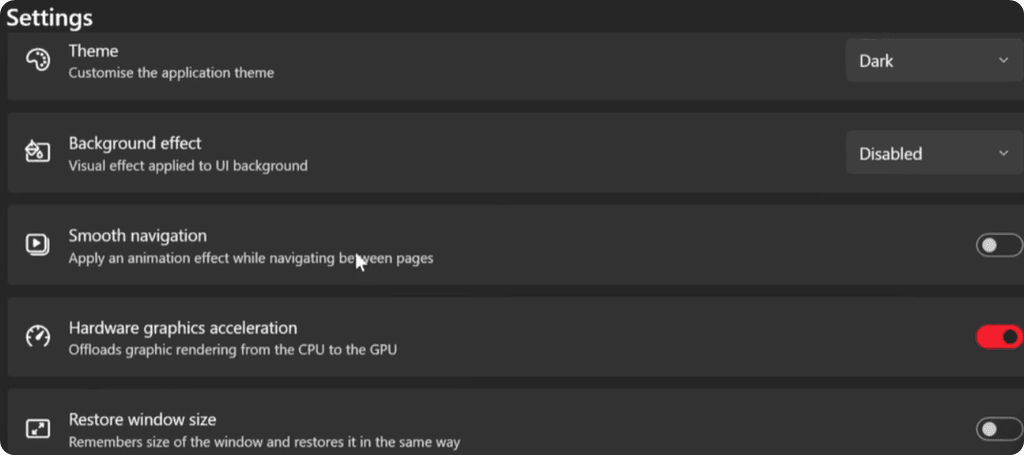
Before we begin, you can also go to settings and configure the theme (light/dark) and check other settings if you want to.
💡It's also a good idea to create a shortcut for Snoop Selection so it's quicker to open up this menu. I like to set it for SCS shortcut.
How Revit Lookup Works
Now, let's learn how to use Revit Lookup.
Whenever you snoop elements, you'll see a list on the left of selected elements groups by their classes. This will help you understand what you're working with.
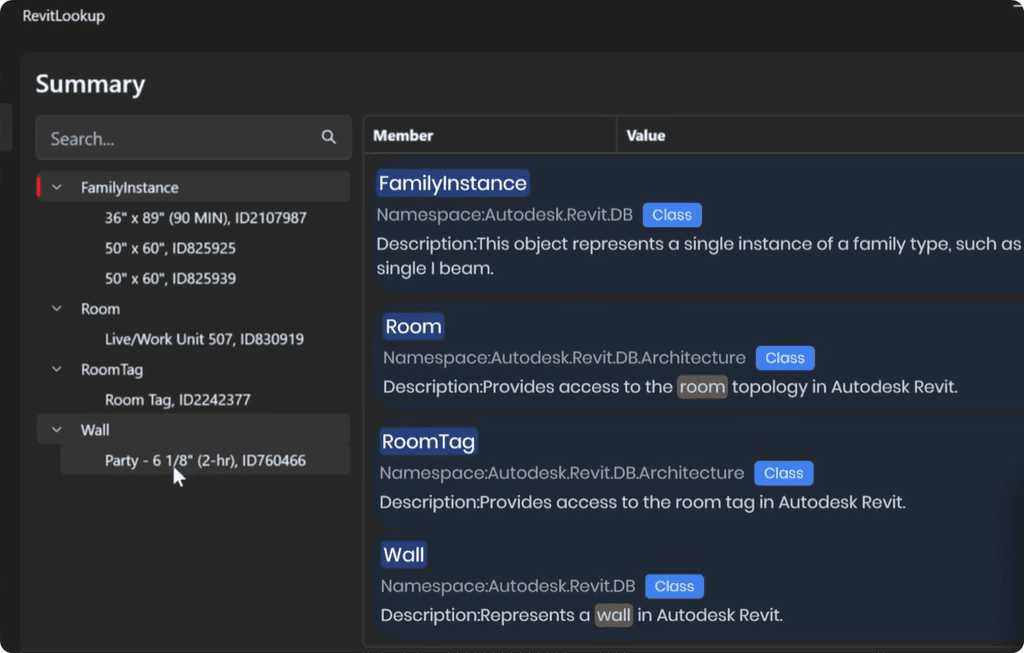
Then on the right side you'll see a table of all attributes available to the selected element.
There is an attribute (property/method) name on the left and the value it returns on the right. This is the same name you'd use in code.
Also notice that there are different icons next to attribute names to separate between Properties and Methods.
This is really useful to explore how to get to certain values with code.
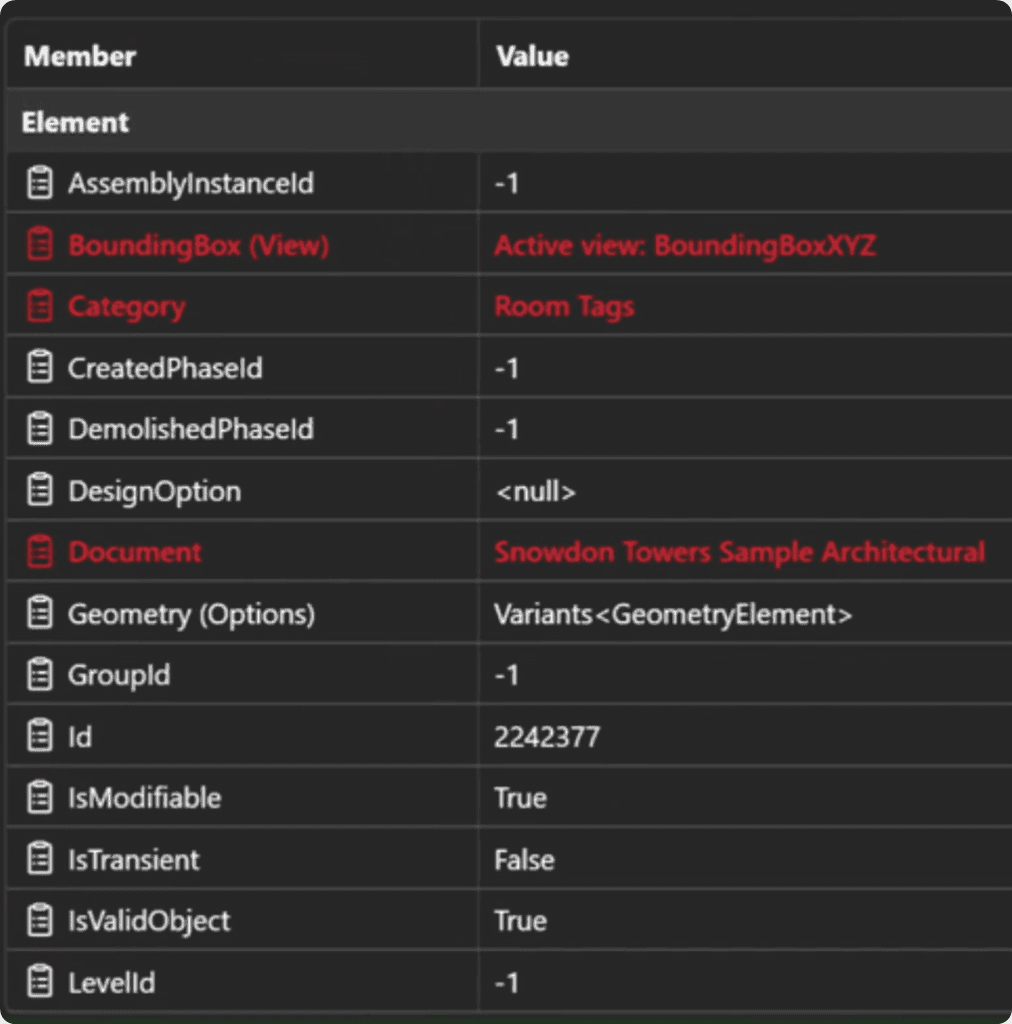
Also you can notice that there are certain attributes in bold red text. It means that they return you another Element or a List of Elements/Values that you can explore further. This way you can explore a chain of elements related to each other.
e.g.
Wall -> WallType -> CompoundStructure -> List of Layers …
The regular white text means that it's a final value which can be ElementId, Numeric or even Text.
Properties vs. Parameters
Also, many beginners tend to confuse the difference between Properties and Parameters.
Property is an attribute related to a class that returns you a value.
Parameter is a container that holds data related to elements. There's going to be a separate module on parameters because we need to Get and Read them very differently to properties.
Understanding Inheritance in Revit Lookup
While exploring Revit Lookup you can also notice that all attributes are sorted based on the class where they come from. This can help you understand the inheritance hierarchy. For example if you'd look at ViewPlan class you'll notice that it's based on other classes like:
Element -> View -> ViewPlan

Therefore you're going to find attributes sorted by these classes where the originally come from.
Also, it means that you'll see the same properties and methods for majority elements, because they all inherited from Element Class. Then as you scroll deeper you'll start to see attributes that come from other classes.
💡 Quick Tip: When you look for specific properties related to selected class (e.g. Wall) you can scroll all the way down until you see the heading Wall above attributes.
You can also reference the same attributes in RVT Docs in case you need additional information on how to use it. But you'll get used to that and you'll only need to do that when you encounter errors or need to find if method needs any arguments.
More Snoop Options
Also, you're not limited to only snooping selected elements. There are multiple options on how to find information about elements.
The most useful options are:
Snoop Selection
Snoop Active View
Snoop Document (Project)
Snoop Database (Everything in Project)
This can help you find elements which are not possible to select manually in Revit UI such as View, Document or even other trickier elements .
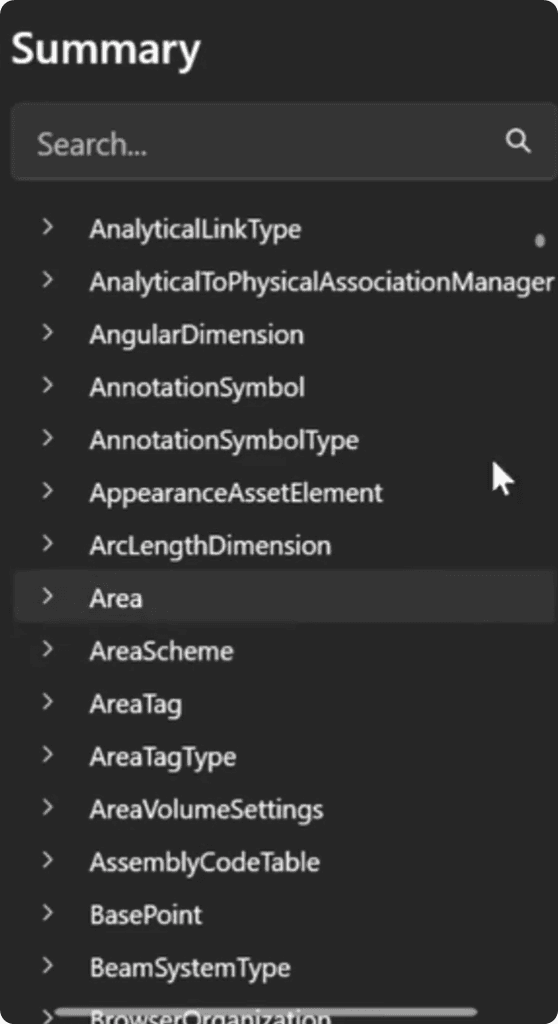
For example you can Snoop Database and it will give you a list of all elements in your project.
In there you can search by Class Name (e.g. Materials) and then look at all available materials in the project. Otherwise it might be tricky to explore them.
Use Search to find what you need fast.
Spend the next 5-10 minutes exploring Revit elements with Revit Lookup.
Just click around on different elements and see how much information can you find inside. Your goal is to get a bit more familiar with the plugin and try to understand the logic of the data that all elements hold.
And then I will show you how to apply this insights with the code.
🔎 Happy Exploring!